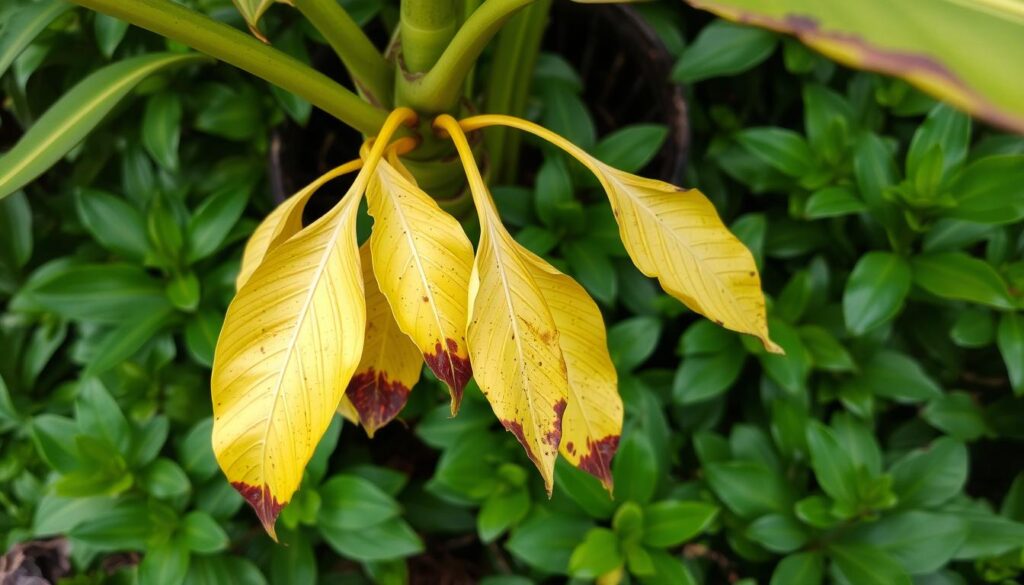
Have you seen your rubber plant (Ficus elastica) losing its bright, leathery leaves? Some leaf drop is okay, but too much is a worry. So, what’s making your rubber plant shed leaves, and how can you fix it?
Paris Lalicata, a plant expert from The Sill, says many things can make a rubber plant lose leaves. This includes changes in light, water, pests, and the environment. Knowing the reasons and taking action can help your plant look green and healthy again.
Key Takeaways
- Rubber plants may shed leaves due to changes in light, watering issues, pest problems, or environmental factors.
- Proper watering, lighting, temperature, and humidity are crucial for maintaining a healthy rubber plant.
- Propagating a rubber plant can be a cost-effective way to expand your collection.
- Identifying and addressing the root cause of leaf drop is essential for the plant’s recovery and long-term health.
- Regular monitoring and preventive measures can help avoid future issues with rubber plant leaf shedding.
Understanding Your Rubber Plant’s Natural Behavior
Rubber plants, also known as rubber tree plants, are famous for their shiny leaves and long life. They can live for decades with the right care. Knowing how they grow and behave helps keep them healthy and prevents leaf loss.
Normal vs. Problematic Leaf Drop
Rubber plants shed old leaves as they grow, which might look like a problem. But losing a few leaves, especially the older ones, is normal. If many leaves drop off suddenly, it could mean the plant is stressed or not getting the right care.
Seasonal Changes and Their Impact
Seasonal changes can also make rubber plants shed more leaves. For example, they might drop more leaves when summer turns to fall. This is okay if the plant stays healthy and looks good.
Plant Growth Patterns
Watching how your rubber plant grows can tell you a lot about its health. A healthy plant grows steadily, with new leaves coming in regularly. If growth suddenly stops or looks uneven, it might be a sign of a problem.
“Understanding the environmental sensitivities and behavioral cues of rubber plants is essential for their successful cultivation.”
Knowing how rubber plants naturally shed and grow helps you spot problems early. This way, you can fix issues quickly and keep your plant thriving for years.
My Rubber Plant is Dropping Leaves: Initial Assessment
Seeing your rubber plant (Ficus elastica) lose leaves is a worry. It’s important to act fast and check what’s wrong. This helps find the cause and fix your plant’s health. Let’s look at how to check why your rubber plant is losing leaves.
First, check for pests like mealybugs, spider mites, or scale insects. These pests can make your plant lose leaves. If you find pests, try natural ways to treat them.
Then, check the soil’s moisture. Rubber plants don’t like too much or too little water. Stick your finger into the soil to see if it’s wet or dry. Change your watering to keep the soil right.
Also, think about the plant’s light. Rubber plants need bright, indirect light. If the light is wrong, they might drop leaves. Move the plant to a better spot for light.
Lastly, watch for changes in the plant’s environment. Changes in temperature, drafts, or moving the plant can stress it. This stress can make it drop leaves.
This first check helps you find why your plant is losing leaves. With patience and care, you can fix the problem. This will help your rubber plant stay healthy and avoid more plant leaf dropping issues.
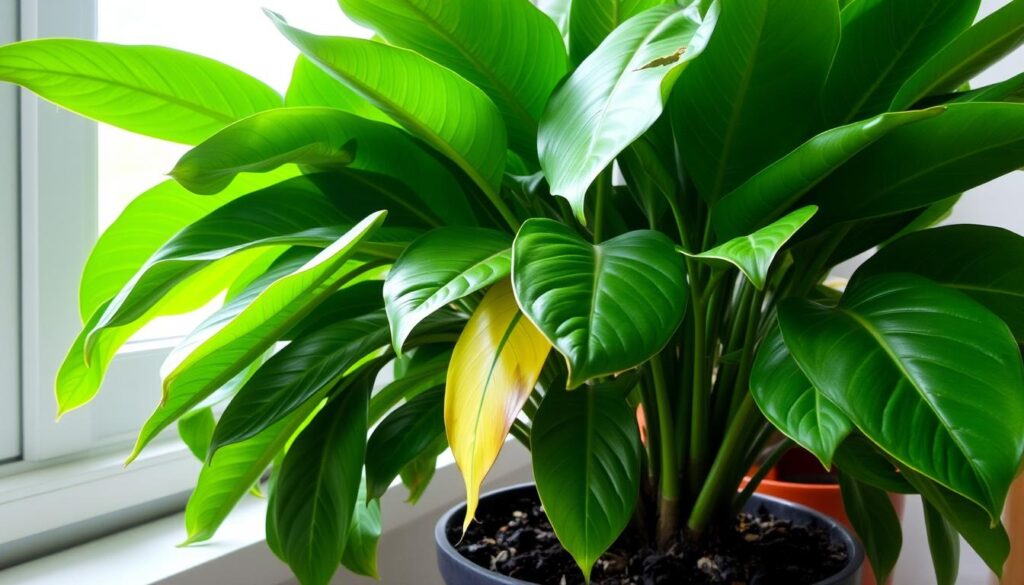
| Potential Cause | Symptoms | Solution |
|---|---|---|
| Pest Infestation | Visible pests, webbing, or signs of damage | Implement natural pest control measures |
| Overwatering | Yellow, drooping leaves | Adjust watering schedule and ensure proper drainage |
| Underwatering | Dry, crispy leaves | Increase watering frequency and monitor soil moisture |
| Insufficient Light | Leaves dropping from the lower part of the plant | Move the plant to a brighter location with more indirect light |
| Environmental Changes | Sudden leaf drop after a change in temperature, location, or other factors | Gradually acclimate the plant to the new environment |
By fixing the cause, you can help your rubber plant get better. A well-cared-for rubber plant can be a lasting part of your indoor garden.
The Critical Role of Proper Watering
Watering your rubber plant right is key to its health. Too much water can turn leaves yellow and mushy. Not enough water makes them crisp and wilted. Water your rubber plant once a week or two, letting the soil dry out first.
Signs of Overwatering
Too much water harms your rubber plant. Watch for yellow leaves, soft leaves, a bad smell from the soil, and plants that don’t grow. If you see these signs, change how often you water to avoid damage.
Signs of Underwatering
Not enough water also stresses your plant. Look for wilted leaves, dry leaves, slow growth, and very dry soil. When the soil is too dry, leaves wilt and might fall off.
Establishing a Watering Schedule
For a healthy rubber plant, water it regularly. In spring and summer, water every week or 10 days. Let the top inch of soil dry out before watering again. In fall and winter, water less often, every 2-3 weeks.
To know when to water, stick your finger into the soil. If it’s dry, it’s time to water. Water well until water comes out of the drainage hole, then let it drain.
By watering regularly and watching for signs of too much or too little water, you can keep your rubber plant healthy. For more tips on rubber plant care, check out our detailed guide.
https://www.youtube.com/watch?v=sKAoayjrxjU
“Proper watering is the foundation of a healthy rubber plant. By striking the right balance, you can help your plant thrive and avoid common issues like leaf drop.”
Light Requirements and Positioning
Lighting is key for your rubber plant’s health and growth. These tropical beauties love bright, indirect sunlight for 6-8 hours daily. Too little light can make leaves pale and drop, while too much can harm them.
Place your rubber plant near a south-facing window for the best light. This spot gives it the bright, indirect light it needs to thrive. If your plant still drops leaves, try adding grow lights to meet its plant sunlight needs.
When you change your rubber plant’s light, do it slowly. Sudden changes can stress the plant and cause houseplant problems like leaf drop. Gradually moving your plant to its new light spot helps it adjust without growth issues.
| Lighting Requirement | Optimal Conditions | Potential Issues |
|---|---|---|
| Bright, Indirect Sunlight | 6-8 hours per day near a south-facing window | Leggy growth, pale leaves, leaf drop |
| Direct Sunlight | Avoid prolonged exposure | Leaf discoloration, crispy edges, wilting |
| Grow Lights | Use to supplement natural light as needed | Gradual acclimation to prevent stress |
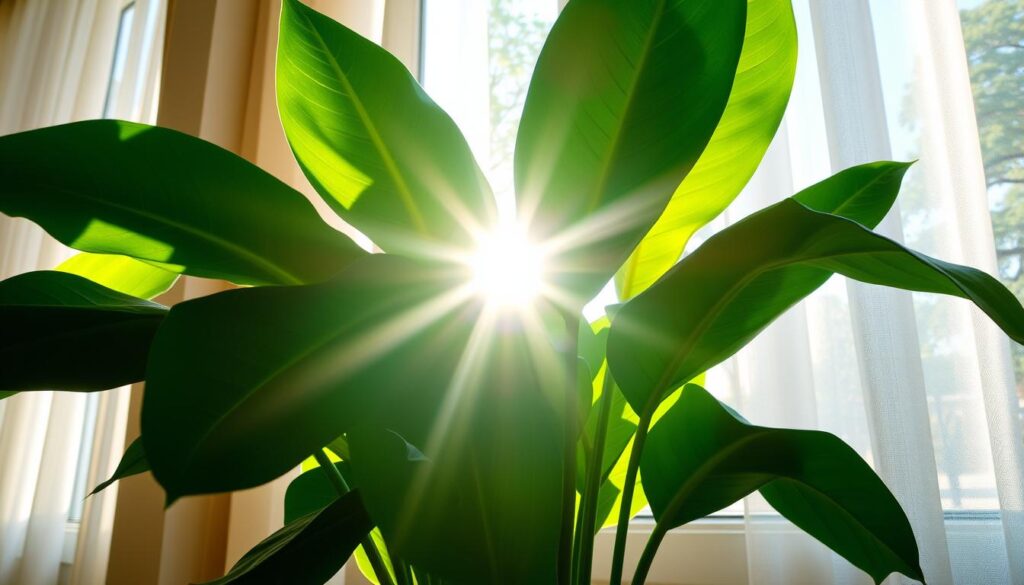
“Proper lighting is the foundation for a healthy, thriving rubber plant. Strike the right balance, and you’ll be rewarded with lush, vibrant foliage.”
Temperature and Environmental Factors
To keep your rubber plant healthy, it needs the right temperature. These plants do best in a steady room temperature of 59-77°F (15-25°C). Cold drafts or sudden temperature changes can make leaves turn yellow, brown, or drop.
Optimal Temperature Range
The best temperature for rubber plants is 60-75°F (15-24°C). This stable temperature helps them grow well and stay green. Make sure your rubber plant is away from cold drafts and temperature changes.
Dealing with Drafts
Rubber plants don’t like cold drafts. If your plant’s leaves start to yellow or brown, look for drafts. Move the plant to a safer spot or use a draft blocker.
Climate Control Solutions
To keep your rubber plant happy, use climate control. A humidifier or a pebble tray can help keep humidity right. Also, use a thermometer to check the temperature and adjust as needed.
https://www.youtube.com/watch?v=v5sX9_iRPow
“Proper acclimation is crucial when moving plants between indoor and outdoor settings. Gradual exposure to changes in temperature, light, and humidity can help minimize stress and prevent leaf drop.”
–Justin Hancock, Horticulture Expert
Humidity Levels and Leaf Health
Keeping the right humidity is key for your rubber plant’s health. These tropical plants love 40% to 50% humidity. But, dry air, especially in winter, can make them drop leaves early.
To fight low humidity and stop leaf drop, try these tips:
- Mist the leaves daily with a spray bottle filled with clean water.
- Use a humidifier to add moisture to the air around your rubber plant.
- Group your rubber plant with other plants to make a humid spot.
- Put the plant on a pebble tray with water to raise the humidity.
Check humidity with a hygrometer often. This ensures your rubber plant gets the best conditions. By fixing low humidity, you can stop early leaf drop and keep your plant looking great.
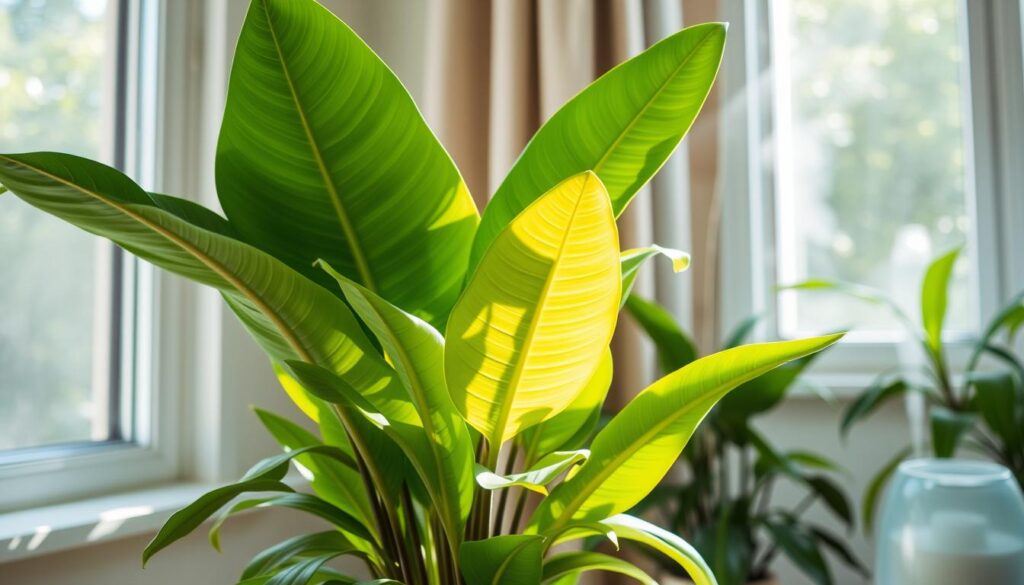
“Maintaining the right humidity levels is essential for the health and longevity of your rubber plant. Pay close attention to this crucial environmental factor to ensure your plant’s leaves stay lush and green.”
Common Pest Infestations and Solutions
Rubber plants are often hardy but can still get pests. They might get scale, aphids, mealybugs, thrips, and spider mites. It’s important to check your rubber plant care regularly for these pests.
Identifying Common Pests
Scale insects look like small, brown or white bumps on stems and leaves. Aphids are tiny, soft insects that cluster on leaves’ undersides. Mealybugs are small, white, cotton-like masses.
Thrips are slender, winged insects that are hard to see. Spider mites are tiny but can cause a lot of damage. They leave fine webbing on leaves.
Natural Treatment Methods
- Wash the plant with a strong stream of water to remove pests.
- Wipe leaves and stems with a diluted neem oil solution to smother pests.
- Use insecticidal soap to control aphids, mealybugs, and other pests.
Prevention Strategies
- Keep your rubber plant clean by washing leaves regularly. This removes dust and pests.
- Isolate new or infected plants to stop pests from spreading to other plants.
- Use sticky traps to catch flying pests like aphids and thrips.
By being careful, using natural pest control, and keeping your plant healthy, you can keep pests away from your rubber plant.
| Pest | Symptoms | Treatment |
|---|---|---|
| Scale Insects | Small, brown or white bumps on stems and leaves | Wipe leaves with neem oil, remove insects manually |
| Aphids | Small, soft-bodied insects on leaf undersides | Spray with insecticidal soap, wash plant with water |
| Mealybugs | White, cotton-like masses on plant | Wipe leaves with neem oil, remove insects manually |
| Thrips | Slender, winged insects | Use sticky traps, spray with insecticidal soap |
| Spider Mites | Fine webbing on foliage, leaves may appear stippled | Wash plant with water, apply neem oil solution |
“Keeping your rubber plant healthy and pest-free needs attention and action. Spotting and fixing problems early helps your plant stay healthy for a long time.”
Soil Conditions and Root Health
Keeping your rubber plant’s soil right is key to its health. Use a potting mix made for plant soil requirements to avoid waterlogging. Check the roots often for houseplant problems like root rot, which shows as mushy, discolored roots or a bad smell.
Choosing the right pot is also important for rubber plant care. Make sure your pot has holes for water to drain out. This stops the roots from getting too wet. Repot your rubber plant every 2-3 years or when the roots get too tight to keep it healthy.
Healthy roots are vital for a rubber plant to grow well. They help the plant get the nutrients and water it needs. By fixing root problems and keeping the soil just right, your rubber plant will stay green and keep its leaves.
| Soil Requirements | Repotting Schedule | Root Health Indicators |
|---|---|---|
| Well-draining potting mix | Every 2-3 years or when root-bound | Mushy, dark roots or foul odor |
| Adequate drainage holes in pot | Prevents waterlogging and stunted growth | Healthy roots ensure nutrient uptake |
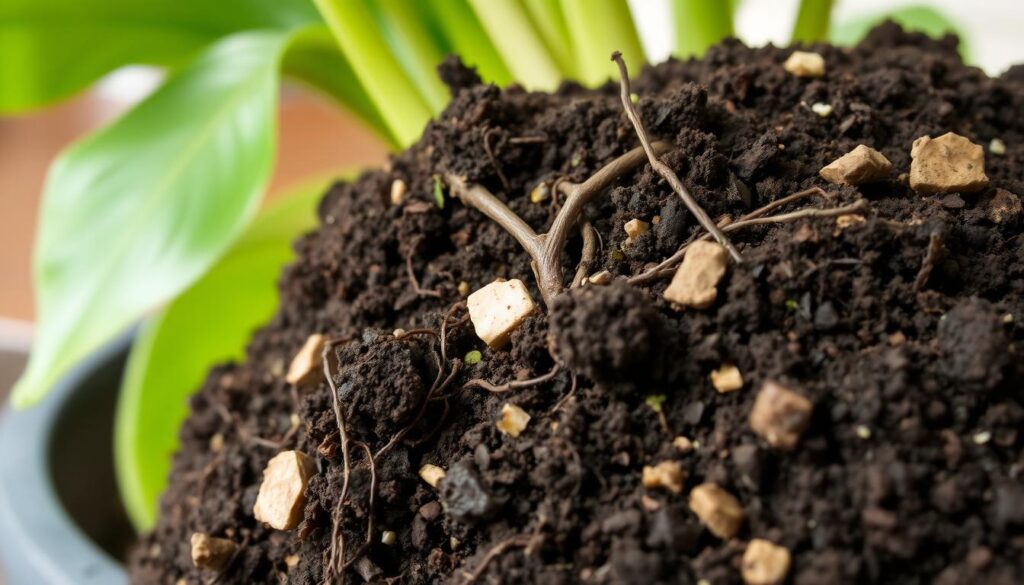
Knowing about plant soil requirements and keeping roots healthy helps your rubber plant do well. It keeps it from getting sick with problems like leaf drop. For more tips on rubber plant care, check out Bonsai Tree Care.
Proper Fertilization Techniques
Keeping the right balance of nutrients is key for your rubber plant’s health. These plants don’t need much, but the right care can boost their growth and keep leaves green.
Seasonal Feeding Schedule
Rubber plants do best with a seasonal feeding plan. In spring and summer, fertilize every 4-6 weeks with a balanced, water-soluble plant fertilization solution. Dilute it to half-strength to avoid overfeeding. This helps with new growth and keeps leaves vibrant. But, don’t fertilize in fall and winter to let the plant rest.
Signs of Over-fertilization
- Leaf burn or scorch
- Stunted or distorted growth
- Excessive salt buildup on the soil surface
If you see these signs, you’ve fertilized too much. Flush the soil with water to remove excess nutrients. This will help your plant recover and avoid more harm.
“Rubber plants require minimal fertilization compared to many other houseplants. Overfertilizing can lead to a host of problems, so it’s essential to follow a measured approach.”
Stick to a seasonal feeding plan and watch for signs of too much fertilizer. This way, your rubber plant will get the nutrients it needs to stay healthy and green. A balanced approach will keep your plant looking its best and prevent common houseplant problems.
| Nutrient Needs | Feeding Recommendations |
|---|---|
| Spring and Summer | Diluted balanced fertilizer every 4-6 weeks |
| Fall and Winter | No fertilization required |
Acclimation and Environmental Changes
Rubber plants don’t like sudden changes in their environment. If you’re moving your plant outside for the summer or back inside for the winter, do it slowly. Start by letting it get used to the new spot for a few hours a day. Gradually increase the time over 1-2 weeks.
This slow transition helps prevent the plant from dropping its leaves. Sudden moves can shock the plant, causing it to lose leaves.
Changing the light for your rubber plant also needs to be done slowly. Moving it to a brighter or darker spot can cause leaf loss. So, take your time to adjust the plant to its new light conditions.
By being careful with your rubber plant during changes, you can keep its leaves healthy. This way, your plant will stay lush and vibrant.
| Key Considerations for Rubber Plant Acclimation | Tips |
|---|---|
| Sudden Location Changes | Gradually increase exposure to new environment over 1-2 weeks |
| Lighting Adjustments | Make lighting changes gradually to allow plant adaptation |
| Temperature Fluctuations | Maintain consistent, optimal temperatures for rubber plants |
| Watering Schedule Shifts | Adjust watering needs based on seasonal changes |
By following these tips, you can help your rubber plant adjust to new conditions. This way, you can avoid stress that leads to leaf drop. With a bit of extra care, your plant will thrive and its leaves will stay lush and vibrant.
Pruning and Maintenance Practices
Keeping your rubber plant (Ficus elastica) healthy is key. Regular trimming helps it grow well and look great. It also keeps air moving, which stops fungal problems.
Pruning your rubber plant is simple. Just cut off dead, damaged, or sick leaves. Snip them just above a leaf node to help the plant grow fuller. Always use sharp tools to avoid spreading diseases.
Pruning also helps control your plant’s size and shape. Cutting above a leaf node encourages new growth. But, don’t prune too much in fall and winter when growth is slow.
Regular care is important too. Dust the leaves and rotate the plant to keep it healthy. Check for pests or diseases often and fix any problems quickly.
For a happy rubber plant, balance pruning, watering, lighting, and environment. Follow these tips to keep your plant lush and vibrant indoors for many years.
Recovery and Rehabilitation Methods
Reviving a struggling rubber plant needs quick action and a clear plan. If your rubber plant is very stressed, you must act fast. You need to fix the problems and give it the care it needs to get better.
Emergency Care Steps
The first thing to do is remove dead or badly damaged leaves. This helps the plant focus on growing new leaves. Also, change how much water, light, and humidity it gets to help it heal.
If pests are a problem, treat them quickly with natural or organic methods. This stops more damage. Fixing these issues first helps the plant recover in the long run.
Long-term Recovery Plan
After the emergency steps, create a detailed plan for your rubber plant’s recovery. The goal is to keep its care consistent. Make sure it gets the right water, light, and nutrients for growth.
Recovery takes time, sometimes weeks or months. Watch the plant closely and adjust its care as needed. If the main plant can’t recover, start a new one from healthy parts.
By using these reviving struggling plants tips and giving your rubber plant the right rubber plant care, you can help it heal. Soon, it will be healthy and vibrant again.
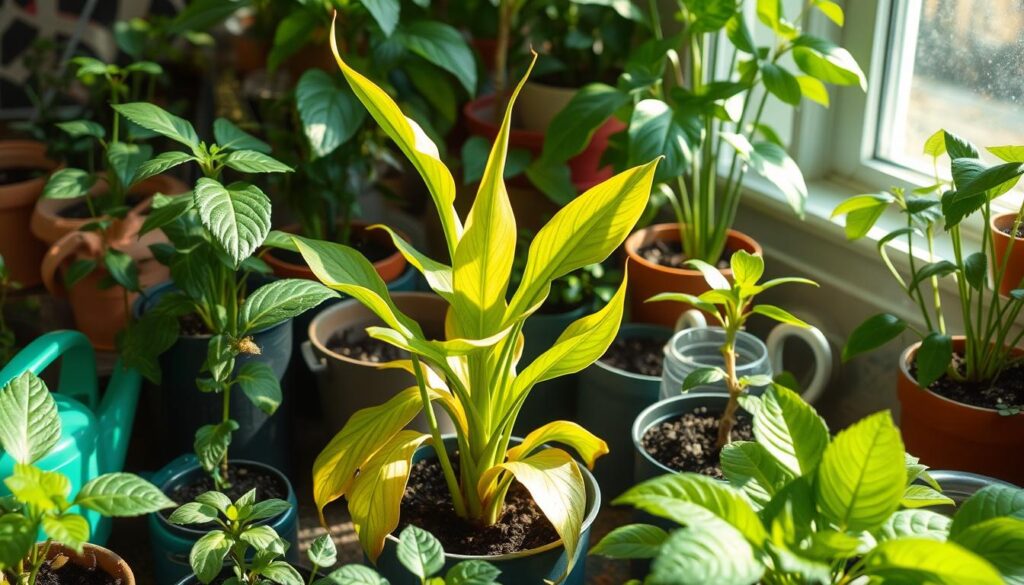
“With the right plant rehabilitation techniques, even the most stressed rubber plant can be brought back to life.”
Prevention of Future Leaf Drop
To keep your rubber plant healthy, start by preventing leaf drop. Fix the root causes and care for it regularly. This way, your plant will stay green and happy.
Proper watering is crucial. Don’t overwater or underwater. Stick to a schedule that lets the soil dry a bit between waterings. Check the soil often and adjust your watering as the seasons change.
Also, make sure your plant gets enough light. Rubber plants love bright, indirect light. Avoid sudden light changes to prevent leaf drop.
Keeping the air humid is also key. Rubber plants like a bit of moisture in the air. Use a humidifier or mist the leaves to keep them happy and leafy.
- Watch for pests like scale insects or mealybugs. Quick action can stop more leaf drop and keep your plant healthy.
- Don’t make sudden environmental changes. Make any big changes slowly to help your plant adjust.
- Stick to a care routine that changes with the seasons. Keep track of your care to improve over time.
By taking these steps, you can prevent leaf drop in your rubber plant. A well-cared-for rubber plant will add beauty to your home for many years.
| Cause of Leaf Drop | Preventive Measures |
|---|---|
| Improper Watering | Establish a consistent watering schedule, allowing the soil to slightly dry out between waterings |
| Insufficient Light | Provide bright, indirect sunlight and gradually acclimate the plant to any changes in lighting conditions |
| Low Humidity | Use a humidifier or mist the leaves regularly to maintain optimal moisture levels |
| Pest Infestations | Regularly inspect the plant and address any pest issues promptly using natural treatment methods |
| Environmental Changes | Introduce any necessary adjustments, such as repotting or relocation, in a gradual and measured manner |
“Consistent care and attention are the keys to keeping your rubber plant healthy and preventing future leaf drop.”
Conclusion
To keep your rubber plant healthy, you need to know how to care for it. This includes watering it right, giving it the best light and temperature, and keeping the humidity just right. Also, watch out for pests and make sure the soil is good.
By keeping an eye on your plant and fixing problems fast, you can help it grow well. With the right care, rubber plants can make your home look great and even help the air quality. They can become a favorite part of your home.
Understanding what your rubber plant needs is key to its success. By following the tips in this article, you can stop leaf drop and keep your plant looking green and healthy. This makes rubber plants a great choice for anyone who loves indoor plants.
