Picture yourself in a tropical paradise, with a towering Norfolk Island pine tree in the background. These trees, from the South Pacific, have won the hearts of many gardeners and nature lovers. They can grow up to 200 feet tall in the wild. Yet, they can also be beautiful indoor plants or bonsai, adding beauty to any space.
Key Takeaways
- Norfolk Island pine can reach impressive heights of up to 200 feet outdoors, but typically grows 3 to 8 feet tall as an indoor plant.
- These trees prefer full sun exposure and thrive in acidic, well-draining soil with regular watering.
- Proper temperature, humidity, and pruning are essential to maintain the health and aesthetic of a Norfolk Island pine bonsai or houseplant.
- Propagation through seed is the best method for growing new Norfolk Island pines, while repotting every 2-4 years is recommended.
- Careful attention to pest management and disease prevention is crucial for the long-term success of these tropical beauties.
If you’re into bonsai or love these tropical trees, growing a full-grown Norfolk Island pine is possible. It’s all about knowing its specific care needs. This guide will show you how to give your Norfolk Island pine the right sunlight, moisture, temperature, and humidity. Follow these steps to enjoy a thriving tree indoors or outdoors.
Introduction to Norfolk Island Pine
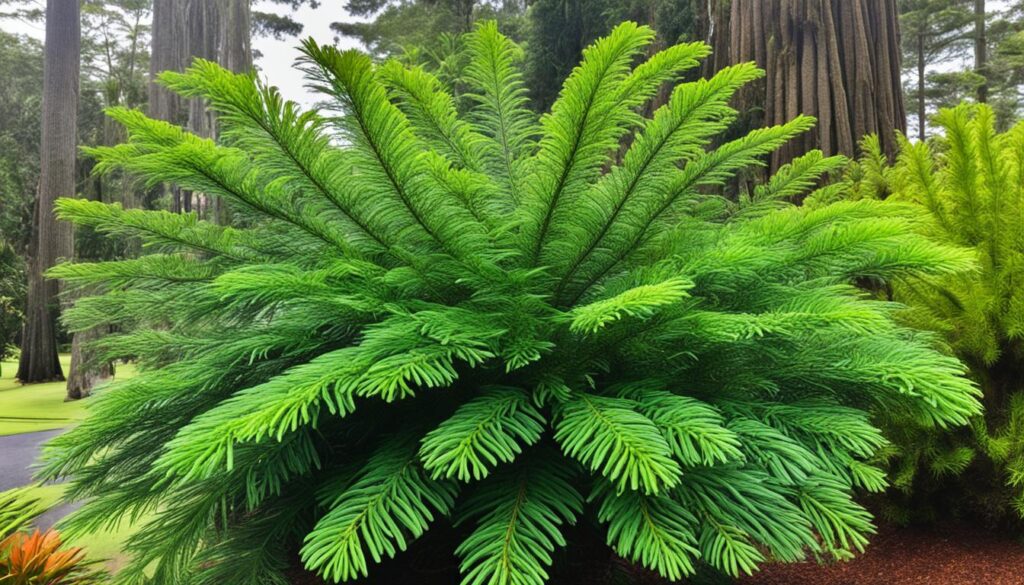
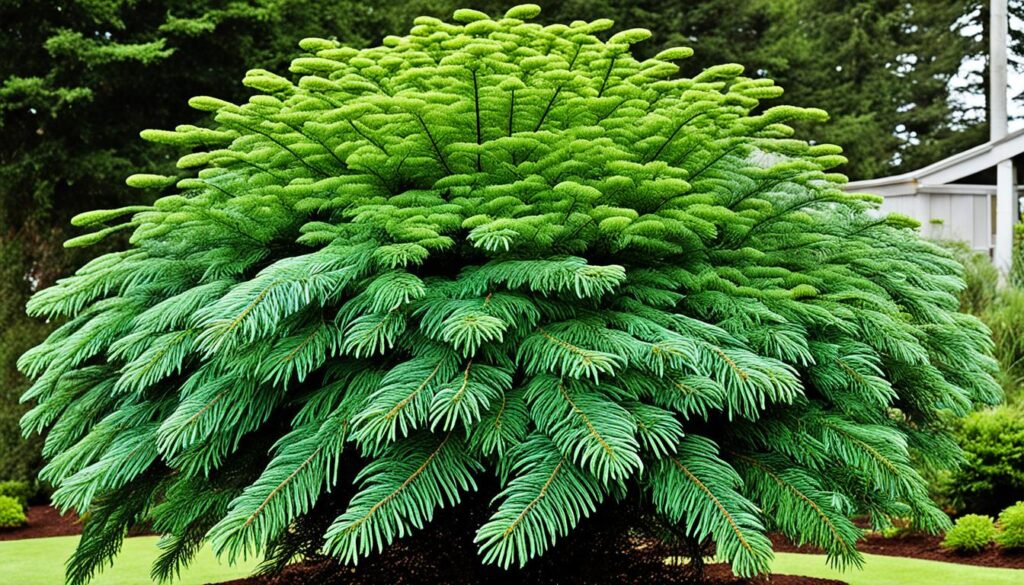
The Norfolk Island pine (Araucaria heterophylla) is a unique plant that has caught the eye of many gardeners and plant lovers. It’s not a true pine tree but a relative of the monkey puzzle tree. This evergreen grows in the remote Norfolk Island in the South Pacific. It’s also grown in subtropical climates in North America (USDA zones 10 to 11) and indoors in other places.
What is a Norfolk Island Pine?
This tree grows slowly and can get up to 200 feet tall in its home. But, when grown indoors or in gardens, it usually reaches 3 to 30 feet. Its unique shape and soft, green needles make it a favorite for decorating, especially at Christmas.
Why Grow a Norfolk Island Pine?
- It looks striking and adds interest to any space
- It can grow well indoors and outdoors
- It’s easier to care for than many other plants or trees
- You can shape and size it as you like
- It brings a tropical feel to cooler places when inside
“The Norfolk Island pine is a versatile and eye-catching plant that can thrive in a wide range of environments, from the tropical outdoors to the cozy indoors.”
Growing Conditions for Norfolk Island Pine
The Norfolk Island pine is great for both indoor and outdoor settings. It needs the right conditions to thrive. Knowing about Norfolk Island pine sunlight requirements, soil preferences, and watering needs is key for success.
Sunlight Requirements
Norfolk Island pines do well in medium to bright indirect light. They also enjoy a bit of direct sun. For indoor plants, place them near a south-facing window for enough sunlight. Outdoors, choose a spot that gets full sun for the best growth.
Soil Preferences
Norfolk Island pine trees like soil that’s porous, sandy, and a bit acidic. For indoor plants, use a potting mix that drains well and matches their natural soil. Keeping the soil pH between 6.0 and 6.5 helps with nutrient uptake and plant health.
Watering Needs
- Water Norfolk Island pine indoors every one to two weeks. Let the soil dry out a bit between waterings to avoid root rot.
- Outdoors, these trees can handle drought but still need regular watering to keep the soil moist.
By meeting the specific needs of Norfolk Island pine sunlight requirements, soil preferences, and watering needs, gardeners can help these plants thrive. This makes them a beautiful, easy-care choice for any space.
Norfolk Island Pine Care
Proper care is key for your Norfolk Island pine’s health and growth. These trees need the right temperature, humidity, and food to do well indoors or outside.
Ideal Temperature and Humidity
Norfolk Island pines love a warm, humid climate. They do best in temperatures between 65°F and 70°F. They can handle some cooler or warmer temperatures but not for too long. Temperatures below 35°F can be deadly.
To keep the right environment, you might want a humidifier. Or, mist the leaves often to keep moisture up, especially in dry places.
Fertilizing Guidelines
Feed your Norfolk Island pine a balanced, weak liquid fertilizer from spring to fall. Don’t fertilize in the winter when it’s dark. A 20-20-20 NPK mix is good, or use special conifer or azalea fertilizers. These help with growth and keep the leaves bright.
“Norfolk Island pines can grow over 100 feet tall in warm climates but typically reach around six feet when kept indoors.”
It’s important to watch the temperature, humidity, and food needs of your Norfolk Island pine, whether it’s inside or outside. This keeps it healthy and full of life.
How to grow a full-grown Norfolk Island pine?
The Norfolk Island pine is a unique evergreen that can grow up to 200 feet tall in the wild. Indoors, they usually reach 3 to 8 feet tall. To grow a full-grown Norfolk Island pine, you need to know how it grows and what it needs.
For these trees to reach their mature size, they need lots of sunlight. They do best in bright, direct light. You might need to give them two hours of sun in the morning or evening.
Also, Norfolk Island pines have weak roots when they’re young. To help them, you should fertilize them regularly. You might also need to stake the tree as it gets taller.

When growing a full-grown Norfolk Island pine, be patient and take good care of it. With the right light, soil, and fertilization, these trees can do well indoors. They make a beautiful centerpiece for any room.
Potting and Repotting Norfolk Island Pine
Keeping the right Norfolk Island pine potting requirements and repotting tips is key for these trees’ health and growth. Norfolk Island pines can grow up to 200 feet in the wild. But, in pots, they can stay small, around 3 feet tall.
The best soil mix for Norfolk Island pine is a mix of sterilized potting soil, peat moss, sand or perlite, and a bit of bone meal. This mix is well-draining and slightly acidic, perfect for your tree.
- Repotting should happen every two to four years, best in spring.
- Don’t repot in winter, as it can stress the plant.
- Make sure the pot is 2 to 3 inches deep below the soil for strong growth.
Norfolk Island pines have delicate roots that can easily be damaged when repotting. Water the plant the day before to make the roots easier to handle. After repotting, change the watering to slow and deep, but not too often to prevent root rot.
“Patience in plant parenthood is crucial for successful repotting and plant care.”
By following these guidelines, your Norfolk Island pine will flourish. It will reach its full beauty and be a beautiful part of your home or garden.
Pruning and Trimming
Proper pruning and trimming of your Norfolk Island pine is key for keeping its shape and encouraging healthy growth. These evergreens don’t need much pruning. But, using a few important techniques can help your plant flourish.
Start by removing any dead lower branches. This is a common problem for indoor Norfolk Island pines. It’s best not to cut the top of the tree. But, if your potted tree is too big for its spot, trimming the central leader can help it branch out. This might change its look, but it usually doesn’t harm the plant’s health.
For trees grown outside, cut out any dead or sick branches. Except for this, you don’t need to prune it often. The goal is to keep the plant’s natural shape. Cutting too much can make it look odd.
The best time to prune is in late winter to early spring, when the tree is dormant. This helps the tree heal before it starts growing again. Use sharp tools like shears, saws, or small chainsaws for clean cuts.
“Pruning is recommended to improve the appearance and health of the plant, without drastically altering its natural form.”
When trimming, aim to keep your Norfolk Island pine looking like a mounded, shrub-like, or vase shape. This helps air move around the plant and prevents fungal problems. Regularly remove dead, discolored, or damaged leaves and stems to keep your tree looking great.
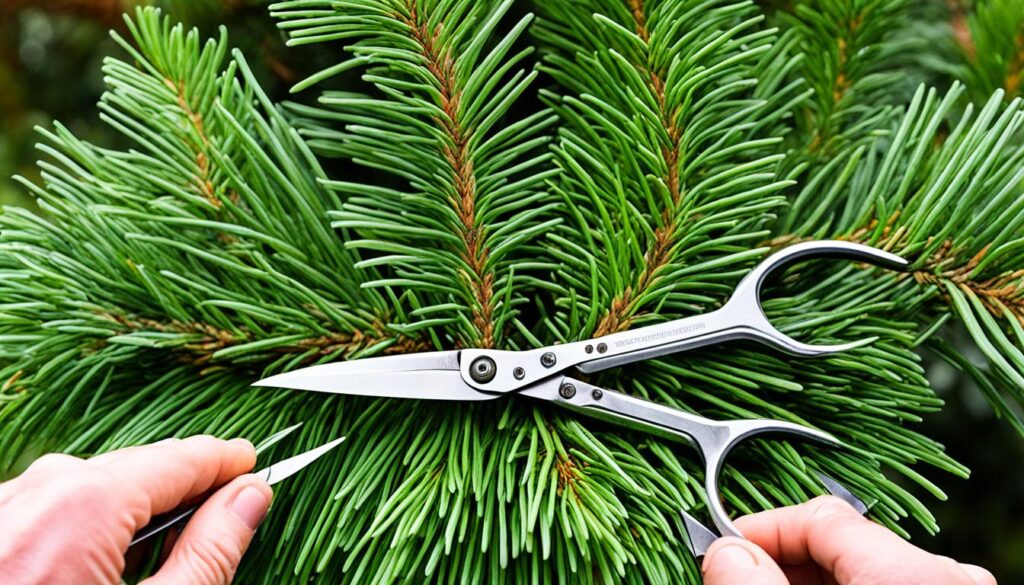
Don’t prune young Norfolk Island pines too much, as they need a strong start. Mature trees can be pruned more to keep their shape and look. With the right Norfolk Island pine pruning techniques, you can trim and maintain the shape of this beautiful evergreen for many years.
Propagating Norfolk Island Pine
Growing a Norfolk Island pine starts with seeds. These trees don’t grow well from cuttings. Instead, use fresh Norfolk Island pine seeds for the best results.
Start by placing the seeds on a moist, well-draining mix. This mix should be peaty and sandy. Mist or cover the seeds to help them germinate, which takes about 2-3 weeks.
Keep the soil moist but don’t overwater. Too much water can cause problems like limp branches or root rot.
Norfolk Island pines like bright, indirect light or partial sun. They should get about 3-4 hours of direct sunlight a day. Keep the young seedlings away from harsh sunlight to prevent damage.
“Within three months, about half of the Norfolk Island pine seeds will lose their viability, so it’s crucial to sow them as soon as possible for the best chance of successful propagation.”
Watch the seedlings closely as they grow. Adjust their water and light as needed. With proper care, your Norfolk Island pine propagation efforts can lead to beautiful trees.
Overwintering Norfolk Island Pine
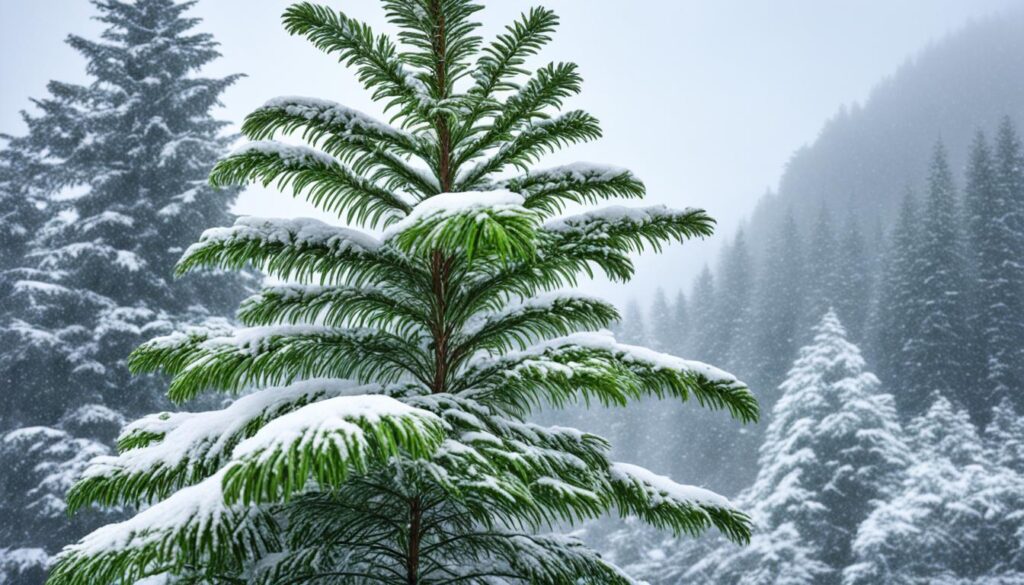
When the weather gets cold, it’s important to look after your Norfolk Island pine. These trees can’t handle frost or cold for a long time. If it gets below 35 degrees Fahrenheit, they will start to turn yellow and get sick.
To keep your overwintering Norfolk Island pine safe, bring it inside before the first frost. Put it in a spot that gets lots of sunlight, like a south-facing window or a sunny room. Keep it away from drafty places because it can’t stand the cold well.
Once inside, make sure the air around your pine is humid. This can be hard in the dry winter air, but a pebble tray or a humidifier can help. Water the plant only when the soil feels dry on top, but don’t give it too much water.
“Proper overwintering Norfolk Island pine care is crucial for the long-term health and vitality of these stunning trees.”
With a bit of extra care, your Norfolk Island pine will make it through the winter. By bringing Norfolk Island pine indoors for winter, you’re keeping it safe from the cold. This way, it will be ready to grow and thrive when spring comes.
Pests and Disease Management
Norfolk Island Pines are tough trees but can get pests and diseases if not cared for. Keeping an eye out and acting fast is important. This helps keep these beautiful plants healthy.
Common Pests
Aphids, mealybugs, scale insects, mites, and whiteflies often infest Norfolk Island Pines. These pests can slow growth, change leaf color, and weaken the plant. It’s important to spot and treat these problems early to stop more damage.
Diseases to Watch Out For
Norfolk Island Pines can get fungal diseases like anthracnose. This disease turns parts of the tree yellow, brown, and can kill it. Too much water makes it easy for these diseases to spread.
To fight pests and diseases, use Integrated Pest Management (IPM) methods. This means checking plants often, keeping them in good conditions, and using safe ways to treat problems.
“Regular monitoring and prompt action are crucial for maintaining the health and beauty of Norfolk Island Pines.”
By being careful and acting quickly, gardeners can keep their Norfolk Island Pines healthy. This helps them avoid the bad effects of pests and diseases.
Troubleshooting Norfolk Island Pine Problems
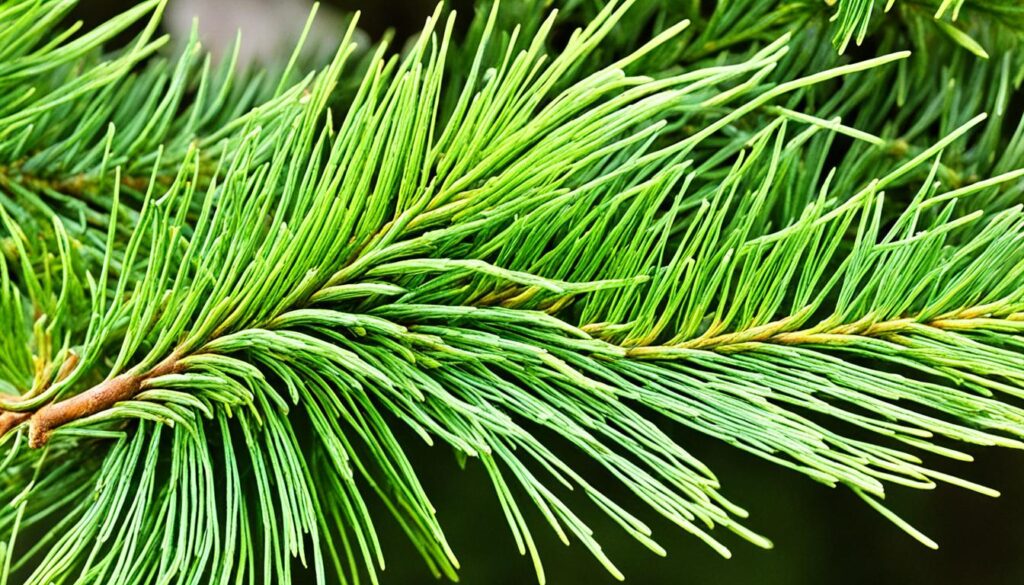
Norfolk Island pine is a popular houseplant known for its lush green foliage. Sometimes, it faces challenges that lead to issues like brown needles, yellow needles, and needle dropping. By understanding these common problems and their causes, you can address them early and keep your Norfolk Island pine thriving.
Brown Needles
If your Norfolk Island pine’s needles turn brown, it might be due to several reasons. The plant prefers a stable, moderate environment and can struggle with wide temperature changes. Norfolk Island pine brown needles can also mean you’re watering it too much or too little. Make sure to water it right and keep the soil consistently moist.
Yellow Needles
Yellow needles on your Norfolk Island pine often mean it’s not getting enough sunlight. These plants love bright, indirect light. So, place your Norfolk Island pine in a spot that gets plenty of sun. But, too much direct sunlight can also cause yellow needles. Try to find the right balance.
Needle Dropping
Shedding needles is normal for Norfolk Island pine, but too much can be a sign of a problem. Overwatering or not enough light are common causes. Watch your watering and make sure your plant gets enough sunlight to prevent too much needle loss.
By fixing these common issues, you can troubleshoot Norfolk Island pine problems and keep your plant healthy and vibrant. With the right care and attention, your Norfolk Island pine can thrive for years.
Conclusion
The Norfolk Island pine (Araucaria heterophylla) is a unique and versatile plant. It can grow well indoors and outdoors if you meet its care needs. By following best practices for growing a full-grown Norfolk Island pine, gardeners can enjoy its beauty and uniqueness.
This tree needs the right amount of sunlight and moisture. It’s also important to manage pests and diseases. Understanding and meeting these needs is key to success with this tree.
Growing the Norfolk Island pine as a houseplant or landscape feature adds elegance and wonder. By focusing on its care, gardeners can make it a stunning focal point. This tree will captivate and inspire for many years.
In summary, the Norfolk Island pine is a resilient and rewarding plant. With the right care, it can thrive and reach its full size. It becomes a beautiful addition to any indoor or outdoor space. By learning about its care and growth, gardeners can enjoy the true beauty of this tree.

I don’t think the title of your article matches the content lol. Just kidding, mainly because I had some doubts after reading the article.