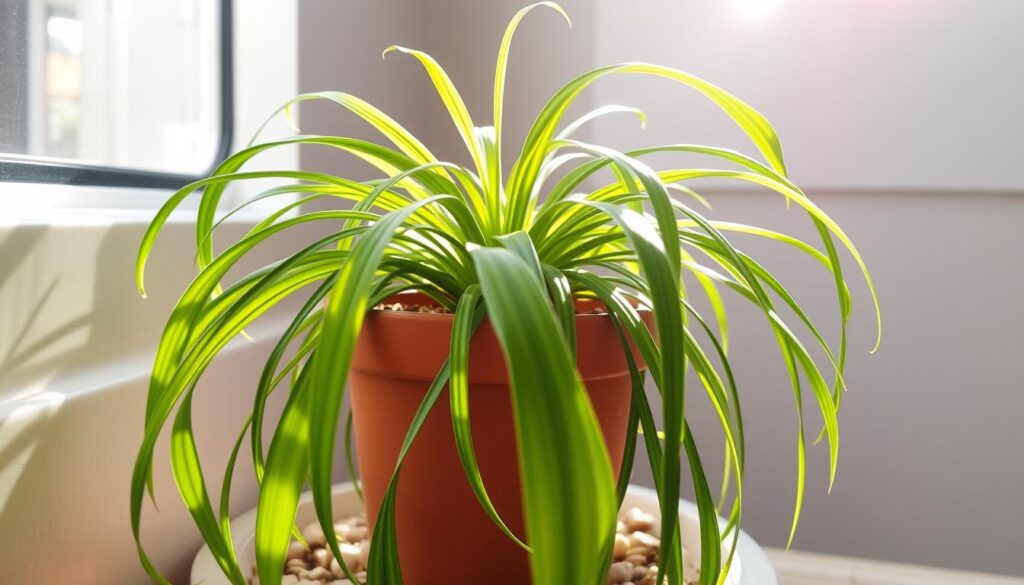
Did you know spider plants can grow up to 30-40 baby plants, or “spiderettes,” in their lifetime? This amazing growth is why these plants are so popular. They are easy to care for and can make any room look greener.
This guide will show you how to replant spider plants easily. You’ll learn about the best soil, pot size, and how to make more plants. With these tips, your spider plants will keep growing and make your home look beautiful.
Key Takeaways
- Spider plants may need repotting when roots become visible outside the pot or through drainage holes.
- Slow growth can indicate the need for repotting to allow access to additional nutrients.
- Frequent watering may suggest the plant requires a larger pot to accommodate its expanding root system.
- Observing roots circling inside the pot is a sign that a spider plant is root-bound and in need of repotting.
- Repotting spider plants during the spring and summer months is recommended for optimal growth.
Understanding Spider Plant Basics
Spider plants, also known as Chlorophytum comosum, have been popular since the 1960s and 1970s. They love warm temperatures between 60-80°F and bright, indirect light. To keep them healthy, water them regularly and fertilize monthly during spring and summer.
Spider Plant Growing Requirements
Spider plants are easy to care for. They grow well in their pots and can quickly fill them up. Watch for roots growing out of the holes to know it’s time to repot. If the plant stops growing, it might need a fresh pot and soil.
Natural Growth Patterns
Spider plants are known for their spiderettes, or baby plants. These can be easily propagated by planting them in soil or water. Dividing the plant during repotting can also make the mother plant look better.
Best Time for Replanting
The best time to replant a spider plant is in the warmer months of spring and summer. This lets the plant focus on growing. Use a light, well-drained soil mix and a pot that’s one to two sizes larger for the best results.
Essential Tools and Materials for Replanting
Getting ready to repot your spider plant means having the right tools and materials. Sharp scissors and well-draining pots are key for a successful transplant. Let’s look at what you’ll need for spider plant repotting.
- Sanitized, sharp scissors or pruning shears: These will help you cleanly cut any damaged or overgrown roots, as well as trim the plant if necessary.
- A clear glass jar: This can be used for the water propagation method, allowing you to observe the root development of your spider plant cuttings.
- 4-inch pots with drainage holes: Choose pots that are slightly larger than the current one, providing room for growth without overwhelming the plant.
- Soilless seed starting mix: This lightweight, well-draining potting medium is ideal for spider plants, promoting healthy root development.
- Perlite: Adding perlite to the soil mix will improve drainage and aeration, crucial for the spider plant’s growth.
- A pencil or dibber: These tools can help you create planting holes and gently guide the roots into the new pot.
You might also want to use rooting hormone for new root growth. Melted wax can seal cut ends to prevent fungal infections.
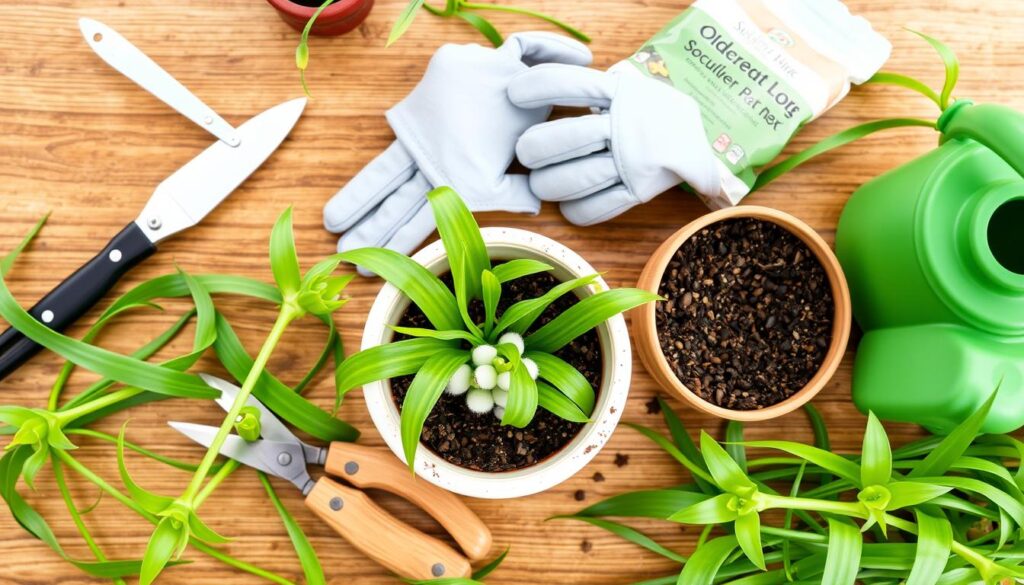
With these tools and materials ready, you’ll be set for a smooth spider plant repotting process.
How to Replant Spider Plants: Step-by-Step Guide
Proper preparation is key when it comes to replanting spider plants. Start by setting up a clean, well-lit work area. This will help you handle the plant smoothly and successfully.
Preparing the Work Area
First, gather all the tools you need. This includes a sharp, sanitized knife or pruning shears, a clean pot, and fresh soil. Make sure your work surface is clean and free of debris.
Removing the Plant from its Current Pot
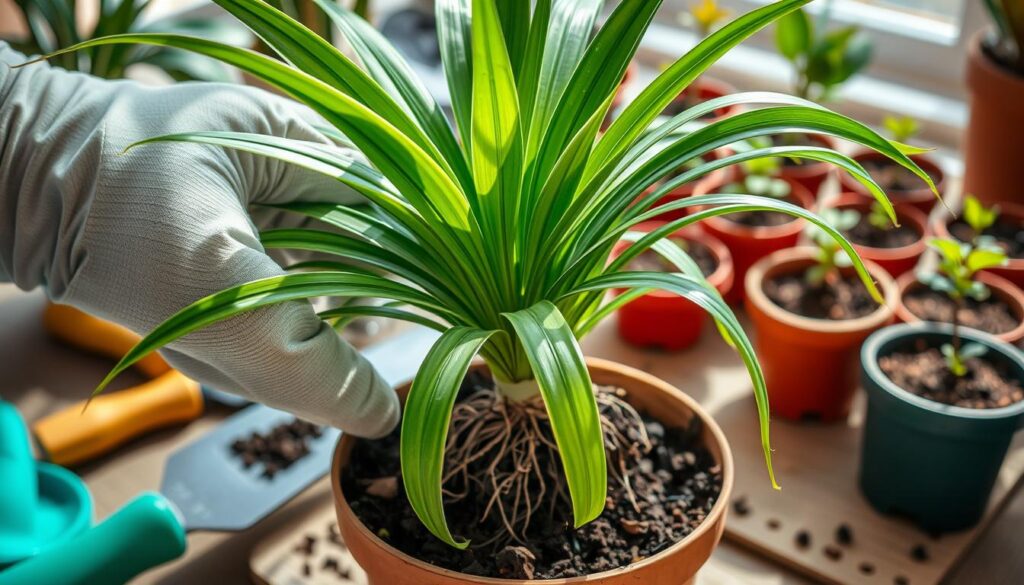
Gently hold the base of the spider plant and turn the pot upside down. Tap the bottom to loosen the roots. Then, pull the plant out carefully, avoiding root damage. If the plant is too tight, use your knife or shears to loosen the roots.
Root Ball Assessment
Check the root ball for any excess soil and untangle matted roots. If the plant is too big, consider dividing it. This is especially helpful for large, mature plants.
| Propagation Method | Time to Root | Root Strength |
|---|---|---|
| Water Propagation | 7-10 days | Weaker roots |
| Soil Propagation | Varies | Stronger roots |
By preparing well, removing the plant, and checking the root ball, you’re ready for a successful transplanting spider plant process. With the right steps, your spider plants will thrive in their new homes.
Choosing the Right Soil Mix
Choosing the right soil mix is key for your spider plants to thrive. They need well-draining, nutrient-rich soil. This mix should balance moisture and air well. The best soil pH for them is between 6.0 and 7.5.
For the best growth, use a houseplant potting mix like Miracle-Gro Indoor Potting Mix. These mixes are made to meet the needs of spider plants perfectly.
You can also make your own spider plant soil mix. Mix peat moss or coconut coir, perlite or coarse sand, and compost or worm castings. This mix will give your plants the nutrients they need and ensure good drainage and air.
- Peat moss or coconut coir: Helps regulate water and keeps pH right.
- Perlite or coarse sand: Makes soil airy and prevents waterlogging.
- Compost or worm castings: Gives plants the nutrients they need.
It’s important to fix any soil problems like waterlogging or overwatering. These can cause root rot and harm your plants. Refreshing or replacing the soil helps keep nutrients and structure good.
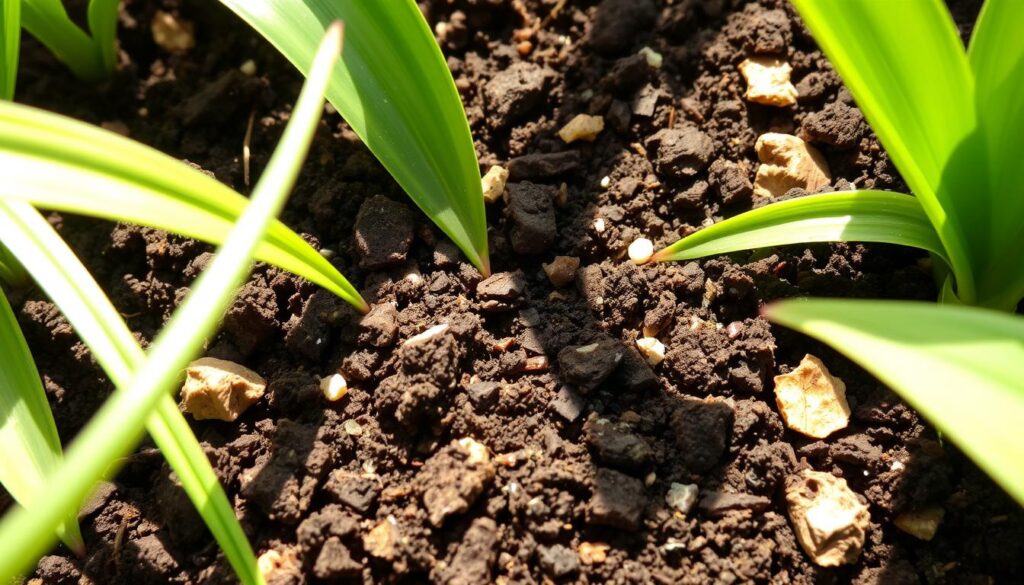
By picking the right spider plant soil and caring for it, your plants will flourish. They’ll add beauty to your home with their green, flowing leaves.
Selecting the Perfect Pot Size
Choosing the right pot size is key for your spider plant’s health and growth. The pot should drain well and give enough room for the roots to grow.
Drainage Requirements
Drainage holes are a must for spider plants. They prevent waterlogging and root rot. For best drainage, pick a terracotta or unglazed ceramic pot. These materials breathe and control soil moisture.
Growth Space Considerations
For a mature spider plant, choose a pot 1-2 inches bigger than the current one. This lets the roots grow without crowding. For new spiderettes, a 4-inch pot is a good start. But, a too big pot can cause overwatering and dry soil issues.
To help your spider plant grow well, pick a pot size that gives it just the right space for its roots. By doing this, you’ll create a great home for your plant to thrive.
| Pot Material | Key Features |
|---|---|
| Terracotta | Breathable, regulates moisture and temperature |
| Unglazed Ceramic | Breathable, regulates moisture and temperature |
| Plastic | Lightweight, variety of shapes and colors, retains moisture |
| Ceramic | Stylish, good drainage, can be heavy and fragile |
| Metal | Durable, may overheat in direct sunlight |
“When repotting a spider plant, it’s important to choose a pot that is just 1-2 inches larger in diameter than the current one. This ensures the plant has enough room to grow without becoming overcrowded.”
Water Propagation Method
One of the most popular ways to propagate spider plants is through water. This method lets you watch the roots grow. It also helps your new plants start off healthy before they go into soil.
To start, pick a healthy, grown spider plant. Cut off a leafy plantlet, or “spiderette,” from the mother plant. Make sure you have a few inches of stem left. Put the cut end in a clear glass or jar with room-temperature water. Make sure only the roots are in the water, not the leaves.
- Change the water in the container every 7-10 days. This keeps the water fresh for the roots.
- In 1-2 weeks, you’ll see tiny white roots growing from the stem.
- When the roots are 2-3 inches long, it’s time to move the plantlet to a potting mix.
Water propagation is quick and easy. But, the roots might be more delicate. They need time to adjust when moved to soil. With the right care, your new spider plant will grow well. It will even produce its own offsets for more plants.
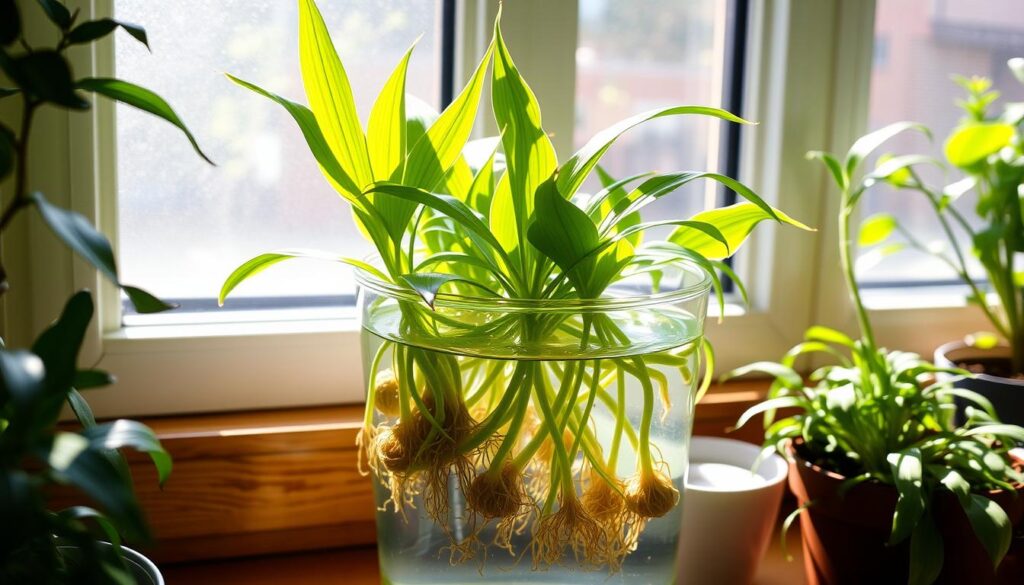
The water method for propagating spider plants is both reliable and rewarding. It lets you see the roots grow and ensures your new plants start strong. By following these steps, you can grow more spider plants. You can then share them with your loved ones.
Soil Propagation Technique
Looking to grow more spider plants? The soil propagation method is easy and works well. Just plant the baby spider plants, or spiderettes, in a potting mix. This starts their root growth and helps them grow strong.
Direct Planting Process
First, get a pot or container ready with a soilless seed starting mix that drains well. Make a hole that fits the roots or base of the spiderette. Put the plantlet in the hole, making sure the base is even with the soil.
Water the soil a bit and put the container in a spot with indirect sunlight.
Root Development Stages
- In about a month, the spider plant spiderette will have strong roots.
- To see if the roots are growing, gently pull on the plant. If it feels hard to move, the roots are growing well.
- When the roots are strong, you can move the baby spider plant to a bigger pot or into the ground.
For successful soil propagation, give the spider plant spiderettes the right growing conditions. Follow these steps to grow new spider plants and increase your collection.
Division Method for Mature Plants
When your spider plant gets too big for its pot, it’s time to divide it. This method helps an old spider plant grow new and keeps it healthy. It’s especially good for [https://bonsaitree-care.com/spider-plant-light/]spider plant divisions, helping them grow well.
To divide your spider plant, start by taking it out of its pot. Look at the roots to find where you can split the plant. Use a sharp knife or pruning shears to cut the roots, making sure each piece has enough roots and leaves.
- Make each division at least 3-4 inches wide. Smaller ones might have trouble growing.
- Don’t make the divisions too small. It can slow down their growth.
- Use containers that are at least 3-4 inches wide. Make sure they have good drainage.
After dividing, replant each section in a new pot. Use a potting mix that drains well. Plant each division at the same depth as before. Water them well and don’t fertilize for a month to help them settle.
“Spider plants are among the easiest houseplants to grow and can be divided to create multiple new plants.”
Your divided spider plants will do great with the right care. They’ll keep producing new plants, or “spiderettes.” Spider plants are easy to care for, making division a simple way to grow more.
Caring for Newly Replanted Spider Plants
After replanting your spider plant, it’s important to give it the right care. This ensures it stays healthy and grows well. Watering and lighting are crucial during this time.
Watering Schedule
Water your spider plant well right after you replant it. Then, keep the soil moist but not too wet. Water it once a week, but less in fall and winter when it grows slower. Don’t let the soil dry out completely, as it can harm the plant.
Light Requirements
Spider plants love bright, indirect light. Place them where they get plenty of sunlight but not too much. They do best in temperatures between 60-80°F and with moderate humidity.
When new growth starts, usually in a few weeks, start fertilizing it monthly. Use a balanced, water-soluble fertilizer. This helps the plant recover and grow strong.
“Spider plants are one of the easiest houseplants to care for, making them a great choice for both novice and experienced gardeners.”
By following these care tips, your spider plant will thrive in its new home. It will keep your air clean and add beauty to your space.
| Watering Frequency | Lighting Requirements | Fertilizer |
|---|---|---|
| Weekly, reduced in fall/winter | Bright, indirect light | Balanced, water-soluble monthly |
Common Replanting Mistakes to Avoid
Replanting spider plants right is key to their health and growth. But, it’s easy to make mistakes that can hurt these hardy plants. When you start the spider plant repotting journey, avoid these common errors for a successful transplant.
One big mistake is overwatering the plant after repotting. Spider plants need the right amount of water. Too much can cause root rot and other problems. Also, using pots without drainage holes can lead to waterlogged soil and harm the plant.
Another error is planting spider plants in too big containers. People think more space means better growth. But, it can actually harm the plant’s roots in the moist, large soil.
- Avoid putting newly replanted spider plants in direct sunlight for too long. It can stress the plant and damage leaves.
- Don’t fertilize right after replanting. It can shock the plant during its transition.
- Don’t try to propagate from single leaves. Spider plants need spiderettes or root divisions for successful propagation.
By avoiding these mistakes, you’ll help your spider plant thrive in its new home. It will live a long, healthy life.
| Common Replanting Mistakes | Potential Consequences |
|---|---|
| Overwatering | Root rot, plant decline |
| Lack of drainage holes | Waterlogged soil, root rot |
| Planting in oversized pots | Weak root establishment, overwatering |
| Exposing to direct sunlight | Leaf damage, plant stress |
| Immediate fertilization | Plant shock, potential damage |
| Propagating from single leaves | Failed propagation, plant loss |
By avoiding these mistakes, your spider plant repotting project will have a great chance of success. Your spider plant will thrive in its new home for many years.
Propagating Spider Plant Runners
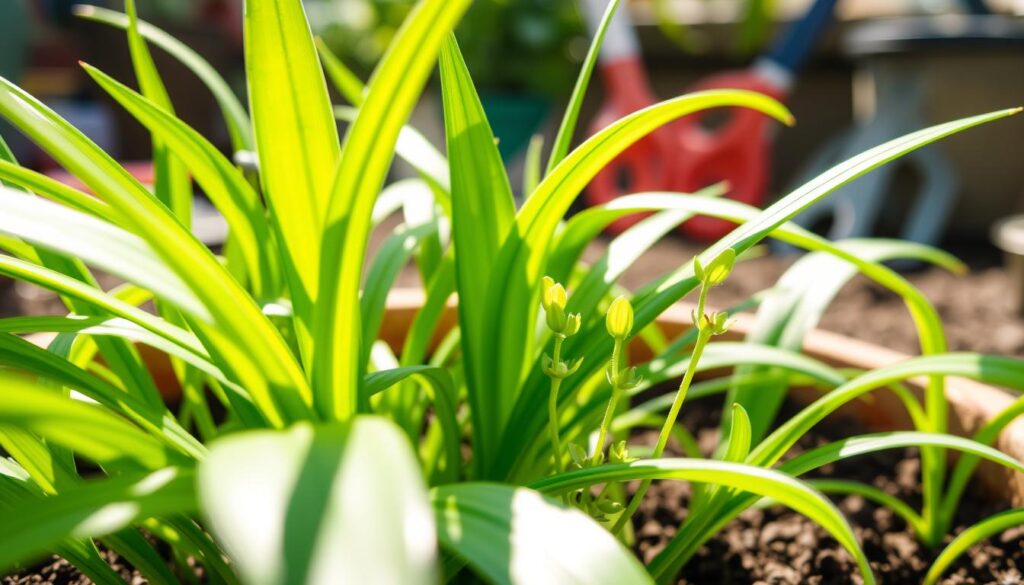
Propagating spider plants from their runners, or “spiderettes,” is easy and rewarding. It lets you grow more of these plants with beautiful leaves. By finding healthy spiderettes and cutting and rooting them, you can make new spider plants. These can be given to friends or used to grow your indoor garden.
Identifying Healthy Spiderettes
Look for spiderettes that are at least 2 inches long and have five leaves. Healthy ones will have brown nodules along the stolon, showing roots are forming. These are the best for successful propagation.
Cutting and Rooting Techniques
- Use sterilized scissors to cut the spiderette near the base of the plant. Leave a short stem attached to the plantlet.
- For the easiest method, place a pot with the right soil mix next to the mother plant. Let the spiderette root while still attached.
- Once the new plant is well-established, usually in 1-3 months, cut the connecting stolon. This separates the plantlet from the parent.
Spider plants can also be grown in water, but this method makes weaker roots. Both ways, keep the new plants moist and in bright, indirect light for a strong start.
Learning to propagate spider plant runners lets you have many of these plants. They are easy to care for and clean the air. With patience and care, your spider plant family will grow and flourish.
Post-Replanting Care Tips
Caring for your newly replanted spider plant is key for its success. Keep the soil moist and give it bright, indirect light. This helps it recover and grow well.
Don’t fertilize your spider plant for a month after replanting. This lets it build a strong root system first. When new leaves start growing, fertilize it monthly during the growing season. This keeps it healthy.
Watch your spider plant for stress signs like yellow leaves or wilting. If you see these, change how you care for it. Cutting off damaged leaves also helps new growth and looks better.
- Maintain consistent soil moisture, avoiding both over- and under-watering
- Provide bright, indirect light for optimal growth
- Refrain from fertilizing for the first month to allow root establishment
- Resume monthly fertilization during the growing season
- Trim any damaged or yellowing leaves to encourage new growth
- Monitor for signs of stress and adjust care as needed
By following these tips, your spider plant will thrive in its new home.
“It’s a healthy green and babies have appeared” after a few months of proper spider plant care following repotting.
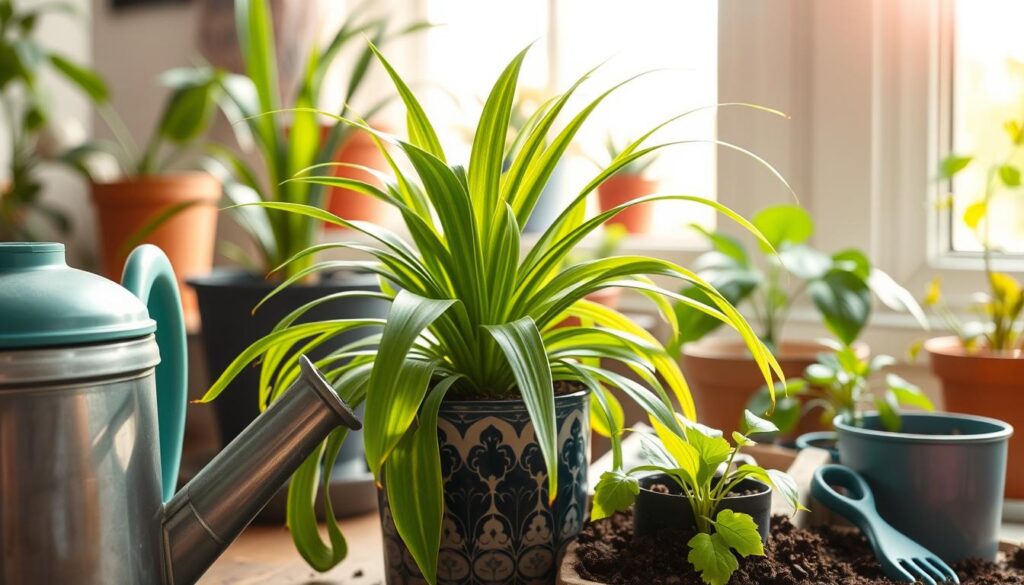
Spider plants are tough and can quickly recover from repotting stress. With the right care, your spider plant will become lush and beautiful. It will make your indoor space even more lovely.
Troubleshooting Replanting Issues
Caring for spider plants after replanting can sometimes present challenges. But with the right troubleshooting techniques, you can quickly address any issues that arise. Common problems like wilting, yellowing leaves, and slow growth are often signs that your spider plant needs adjustments to its care routine.
If your spider plant is wilting, it may indicate either overwatering or underwatering. Adjust your watering schedule accordingly. Provide more or less water as needed, until the plant regains its vibrant appearance. Yellowing leaves can result from excessive moisture, nutrient deficiencies, or too much direct sunlight. Assess your watering, fertilization, and light exposure practices to remedy the problem.
Slow growth after replanting is normal as the plant focuses its energy on establishing a healthy root system in its new environment. Be patient and continue providing optimal spider plant care. You should see new growth emerge within a few weeks. If issues persist despite your efforts, inspect the roots for signs of rot or pests. These can hinder the plant’s recovery and impede its overall health and development.
