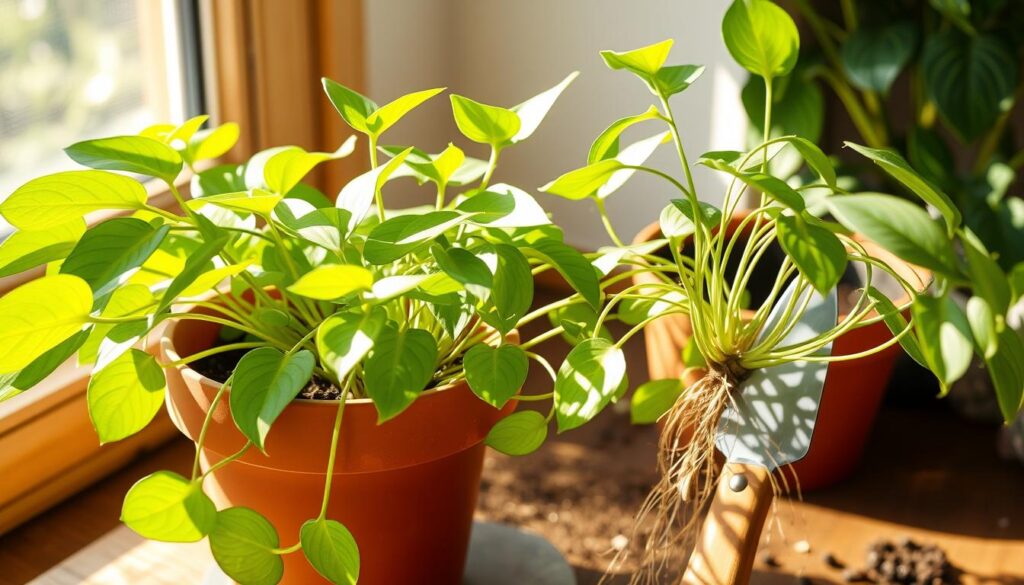
Spider plants have been a favorite since the 1960s and 70s. They are loved for their full look and easy care. To keep them looking great, repotting is key. It’s a simple process that can be done in just 5 steps.
Key Takeaways
- Spider plants are popular houseplants that require periodic repotting for optimal growth and health.
- Repotting a spider plant can be done in just 5 steps, including preparing the new pot and soil, loosening roots, and replanting.
- Signs your spider plant needs repotting include roots growing through drainage holes or above the soil line, as well as stunted growth.
- Repotting is best done during the plant’s active growth period in spring and summer.
- Using a well-draining potting mix and the right pot size are key to successful spider plant repotting.
Do you know when it’s time to repot your spider plant? Keeping up with this care can greatly improve your plant’s health and life.
Signs Your Spider Plant Needs Repotting
Knowing when your spider plant needs a new home is key to its health. Look for roots growing through the drainage holes. This means the roots have outgrown the pot and are circling at the bottom.
Also, watch for roots showing above the soil line. This is a clear sign the plant needs a bigger pot.
Stunted Growth
Slow growth is another warning sign. Restricted roots can’t get the nutrients needed for growth. This leads to weaker plants.
“Repotting spider plants can lead to growth stimulation and healthier roots, resulting in vibrant foliage and plants that better handle dry indoor conditions.”
Keep an eye out for these signs to keep your spider plant happy and healthy. Repotting on time gives your plant the room it needs to grow well.
Importance of Repotting Spider Plants
Repotting your spider plant regularly is key for its health and long life. It gives the roots room to grow and access nutrients. Repotting spider plants stops them from becoming root-bound, which can slow growth and cause problems.
Repotting lets the roots spread out and get the nutrients they need. As spider plants grow, their roots need more space. This helps the plant grow strong and healthy.
Repotting also means fresh soil for your plant. Old soil can lack the nutrients needed for growth. New soil helps your plant grow well and stay healthy.
Another big plus is better drainage. Spider plants don’t like wet feet. Good drainage prevents root rot and keeps the plant healthy.
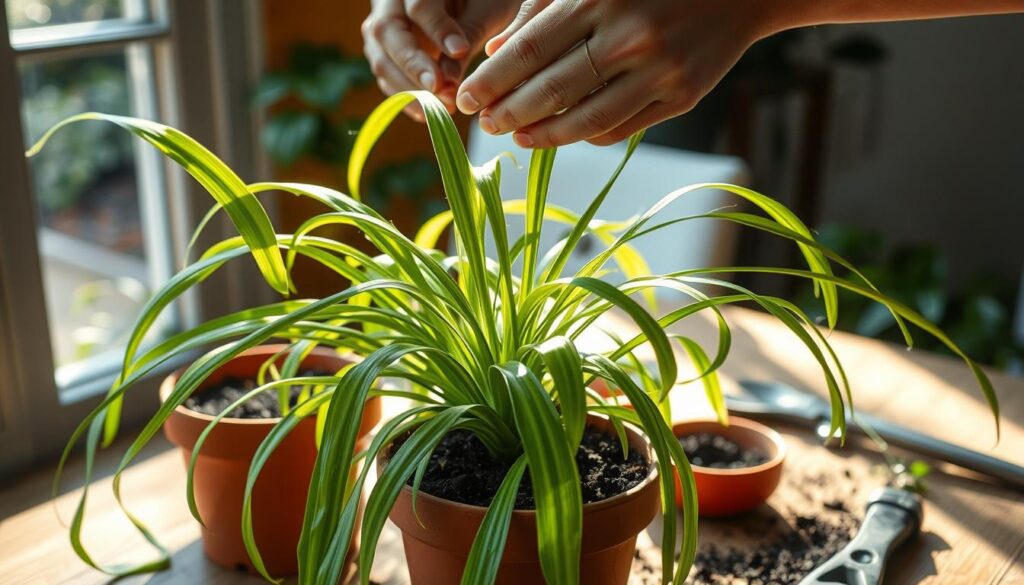
In short, repotting is very important for spider plants. It gives them room to grow, fresh soil, and better drainage. With the right care, your spider plant will stay vibrant and beautiful in your home.
Choosing the Right Pot for Your Spider Plant
When you repot your spider plant, picking the right pot is key. The right pot size for spider plant should be a bit bigger than the old one. This gives the roots room to grow without getting too crowded.
Size Considerations
Don’t pick a pot that’s way too big. It can cause water to pool and lead to root rot. Choose a pot size that’s just right, so your spider plant can grow well without feeling cramped.
Drainage Requirements
Good drainage is vital for your spider plant’s health. Look for pots with holes to let water out. This keeps the roots healthy and prevents waterlogging.
Pot Material and Stability
The best pots for spider plants are usually plastic or ceramic. They help keep the soil moist but not too wet. Also, make sure the pot is stable to avoid your spider plant from toppling over.
“Proper pot selection is key to the long-term health and growth of your spider plant. Take the time to choose a container that meets its specific needs.”
Preparing for Repotting
Selecting Potting Mix
When you care for a spider plant indoors, it needs a soil mix that drains well. This mix should also let air in and prevent roots from rotting. You can find a good potting mix for houseplants at a local nursery or garden center.
Or, you can make your own mix. Mix two parts of a general potting mix with one part perlite and one part coconut coir. This mix will give your spider plant the best potting mix for spider plant and the spider plant soil requirements it needs to grow well.
Before you repot, water the soil mix well. This helps it settle and mix well with the plant’s roots. This makes the transfer to a new container smoother.
| Soil Component | Ratio | Purpose |
|---|---|---|
| Potting Mix | 2 parts | Provides essential nutrients and structure |
| Perlite | 1 part | Improves drainage and aeration |
| Coconut Coir | 1 part | Retains moisture and enhances soil texture |
Choosing the right best potting mix for spider plant and spider plant soil requirements is key. It sets the stage for a successful repotting. And it helps your spider plant thrive in its new home.
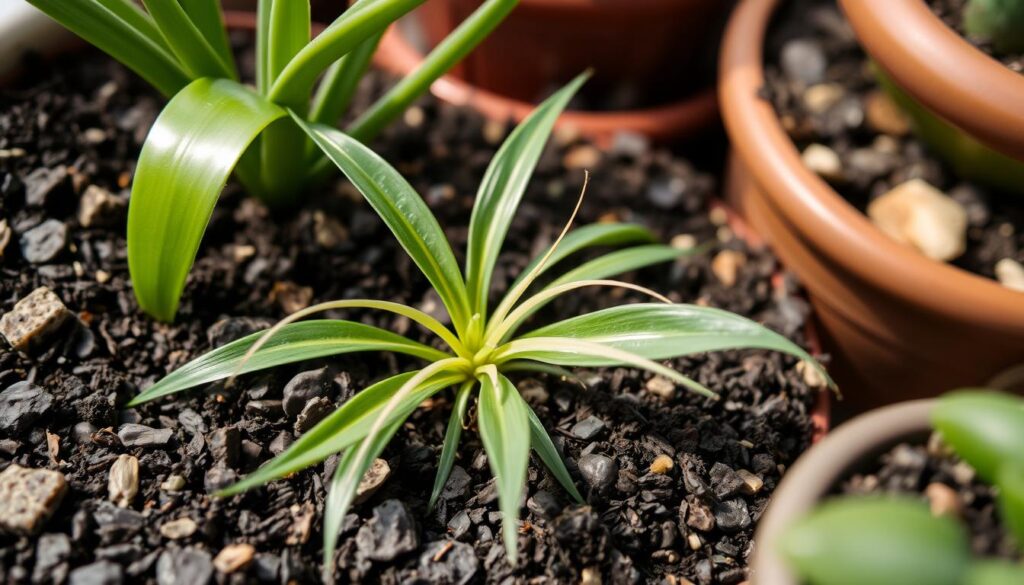
Step-by-Step Guide to Repotting Spider Plants
Repotting your spider plant is key to keeping it healthy and growing. If your plant is too big for its pot or looks rootbound, repotting is easy. Follow these steps to give your spider plant the room it needs to flourish.
Removing Plant from Current Pot
Start by carefully taking the spider plant out of its pot. If it’s too big, loosen the roots around the drainage holes and sides. Then, gently pull the plant out. Look at the roots and get ready to trim any that are too long or tangled.
Loosening and Pruning Roots
Spider plants with overgrown roots will have them circling in the pot’s shape. These roots need to spread out in the new pot, not circle. Trim long roots, but don’t cut more than a third to avoid shocking the plant.
Dividing Spider Plant (Optional)
If you want more spider plants, now’s the time to divide. Each section should have leaves and enough roots to grow on its own. Hold each section, shake the roots, and plant them in separate pots.
Planting in New Pot
Fill the new pot halfway with a houseplant growing medium. Place the plant in the pot, holding it at the same level as before. Fill the gaps with more soil mix, pressing down to remove air pockets.
By following these steps, your spider plant will have the space and nutrients it needs. Water it well after repotting and give it medium to bright, indirect light for the best growth.
Watering After Repotting
After repotting your spider plant, watering is very important. It helps the roots settle into the new soil. This encourages them to grow outward. It also gets rid of air pockets that can form during repotting.
To water your spider plant right after repotting, keep the soil moist but not too wet. Use the “finger test” to see if the soil is dry. Stick your finger into the soil up to the first knuckle. If it’s dry, it’s time to water. Don’t let the soil dry out completely, as this can harm the plant.
| Watering Tips After Repotting | Explanation |
|---|---|
| Water Thoroughly | Make sure the whole root zone is moist, but don’t let the soil get too wet. |
| Check Soil Moisture Regularly | Use the “finger test” to check if the soil is dry. Water when it is, aiming for moist but not soggy soil. |
| Adjust Watering as Needed | If the soil stays too wet, water less. If it dries out too fast, water more. |
| Provide Proper Drainage | Make sure the new pot has enough holes for water to drain. This prevents waterlogging and root rot. |
By following these how to water spider plant after repotting tips, your spider plant will thrive in its new home. It will stay vibrant and healthy.
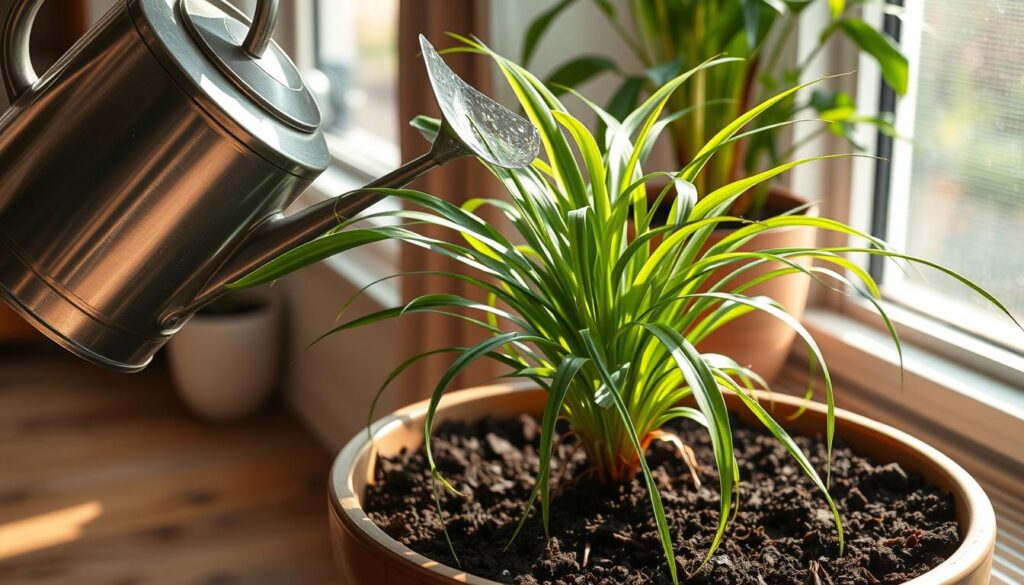
“Proper watering is the key to a thriving spider plant after repotting. Consistency is key, so be sure to check the soil regularly and adjust your spider plant watering after repotting approach as needed.”
Best Time for Repotting Spider Plants
Timing is key when repotting your spider plant. The best seasons are spring and summer. This is when the plant grows the most, allowing its roots to spread and settle in the new pot.
Repotting spider plants in warmer months helps them grow well. But, doing it in winter can stress the plant. The roots may find it hard to adjust to the new space.
Spider plants usually need a new pot every 1-2 years. This is when their roots start to show through the drainage holes. Watching for these signs helps your spider plant get the care it needs.
Repotting your spider plant at the best time ensures it grows well. It avoids problems like too much water and root rot. A healthy spider plant will show off its green leaves and might even produce new plants.
how to repot spider plant
Repotting your spider plant is key for its health and growth. This guide will help your plant stay strong and vibrant.
- Gather your supplies: a new pot, high-quality potting mix, and sharp, clean pruners or scissors.
- Gently remove the spider plant from its current pot. Loosen the soil around the roots and lift the plant out carefully.
- Examine the root system. If the roots are tightly packed or growing through the drainage holes, it’s time to repot.
- Prune any damaged or overly long roots to encourage new growth.
- Fill the new pot with fresh, well-draining potting mix, leaving enough space for the plant’s root ball.
- Place the spider plant in the new pot and gently firm the soil around the roots.
- Water the plant thoroughly, ensuring the soil is evenly moist but not waterlogged.
By following these steps to repot spider plant, you can ensure your spider plant continues to flourish and thrive. Remember to repot during the spring or summer months for optimal growth.
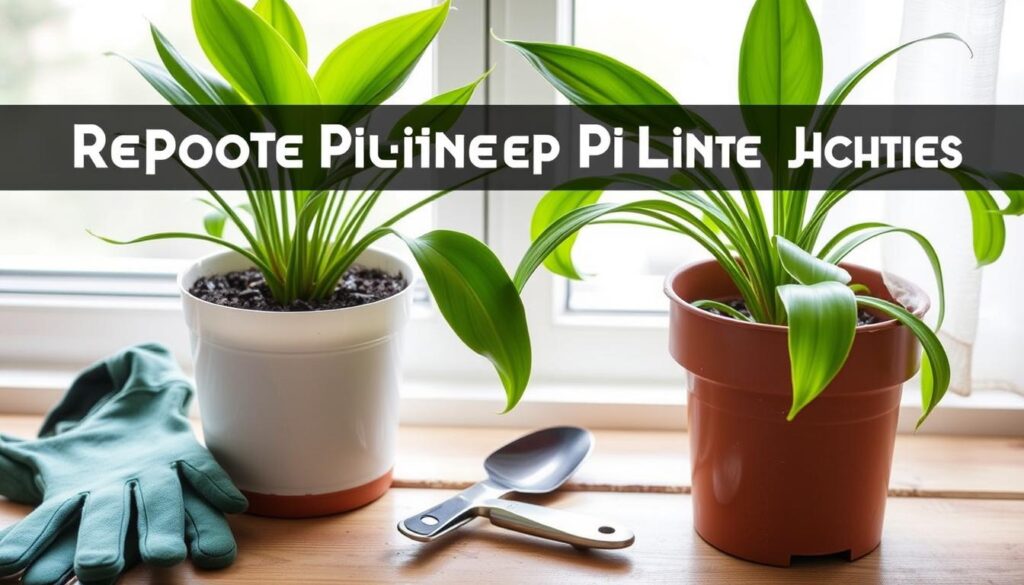
“Repotting spider plants is a simple task that pays off in the long run, helping your plant stay healthy and vibrant.”
Spider Plant Fact 1: Potbound Plants’ Water Retention
When a spider plant gets potbound, its roots are packed tight in the pot. This makes it hard for the plant to soak up water well. So, potbound spider plants dry out faster and may get stressed from not enough water.
Studies show a plant can live with up to one-third of its roots missing after repotting. Still, it’s best to keep some old soil in the new pot to help the roots grow. The drainage layer should be less than a quarter of the pot’s height for good air and water flow.
When you repot a spider plant, choose a pot only a bit bigger than the old one. This helps avoid root rot from too much space. After moving the plant, water it lightly but not too much to help it adjust.
Knowing how potbound spider plants handle water helps gardeners take better care of them. This ensures their spider plant stays healthy and thrives.
Spider Plant Fact 2: Tolerating Root Ball Shaving
Repotting your spider plant is easier thanks to its strong roots. You can shave or prune the root ball without harming the plant. This helps the plant grow new roots and absorb nutrients better.
Shaving the root ball is good if the roots are too tight. It lets the plant focus on growing new, healthy roots. This gives the plant a chance to start fresh and grow stronger.
When shaving spider plant root ball or pruning spider plant roots, be careful. Don’t hurt the plant’s core roots. Remove only the oldest roots, keeping the younger ones safe. This way, the plant can quickly recover and grow well after repotting.
| Benefit | Description |
|---|---|
| Stimulates New Root Growth | Shaving the root ball encourages the spider plant to direct its energy towards developing new, healthier roots. |
| Improves Nutrient Absorption | With a rejuvenated root system, the spider plant can more effectively absorb the necessary nutrients from the soil. |
| Prevents Root-Binding | Regular root ball shaving helps prevent the spider plant’s roots from becoming overly dense and root-bound. |
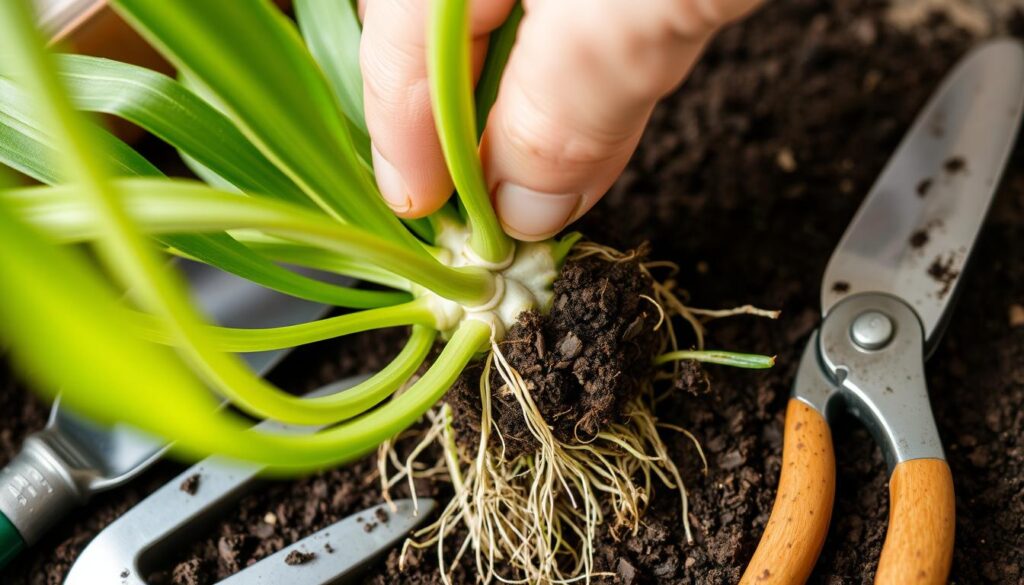
Knowing how to shave the root ball helps keep your spider plant healthy. It ensures your plant stays vibrant and thrives for many years.
Spider Plant Fact 3: Propagation and Common Pests
Spider plants are great for indoor gardens because they can easily multiply. You can grow new plants from their long stems, called “spiderettes.”
It’s easy to make more spider plants. Just cut off the spiderettes and plant them in their own pots. Or, you can put them in water until they grow roots, then move them to soil. This way, you can quickly grow more spider plants.
Even though spider plants are tough, they can get pests like spider mites, mealybugs, and aphids. These pests can make leaves turn yellow, cause webs, and slow down growth if not treated.
| Pest | Symptoms | Treatment |
|---|---|---|
| Spider Mites | Webbing, discolored leaves, stunted growth | Insecticidal soap, neem oil, or horticultural oil |
| Mealybugs | Cottony masses, wilting, yellowing leaves | Rubbing alcohol, insecticidal soap, or manual removal |
| Aphids | Curled, discolored leaves, sticky residue | Insecticidal soap, neem oil, or ladybugs |
With the right care and watchfulness, you can keep pests away from your spider plants. Knowing how to propagate and control pests lets you enjoy these wonderful houseplants even more.
Aftercare and Maintenance
Keeping your spider plant healthy goes beyond just repotting. It’s important to take care of it after repotting to avoid problems like root rot and pests. Let’s look at how to keep your spider plant thriving.
Preventing Root Rot
Root rot is a big problem for spider plant owners. To avoid it, don’t overwater your plant. Make sure the pot drains well. Use a potting mix that drains easily and don’t pack the soil too tight.
Let the top inch of soil dry out before watering again. You can also use a moisture meter to check the soil’s moisture.
Dealing with Common Pests
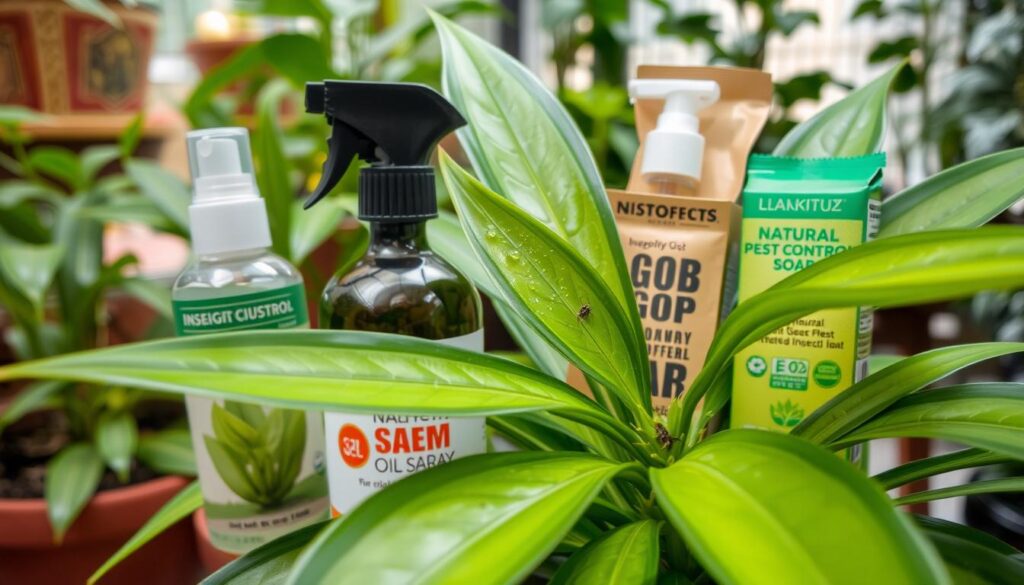
Spider plants can get pests like spider mites, aphids, and mealybugs. Keep an eye out for these pests and check your plant often. If you find pests, treat your plant quickly with insecticidal soap or neem oil. Always follow the product’s instructions.
| Common Spider Plant Pests | Identification | Treatment |
|---|---|---|
| Spider Mites | Small, spider-like pests that create webs on the underside of leaves | Insecticidal soap or neem oil |
| Aphids | Small, soft-bodied insects that cluster on the leaves and stems | Insecticidal soap or neem oil |
| Mealybugs | White, cotton-like insects that feed on the plant’s sap | Insecticidal soap or neem oil |
By watching for pests and treating them fast, you can keep your spider plant healthy and looking great.
Conclusion
By following this repotting guide, you can help your spider plant thrive. Repotting at the right time and choosing the right pot are key. Also, proper aftercare and maintenance are crucial for your plant’s growth.
Spider plants are adaptable and resilient. They can handle many conditions. With the right care, your spider plant will flourish and add beauty to your home.
Caring for a spider plant is rewarding. By following this guide, you’ll keep your plant healthy for years. Enjoy watching it grow and the joy it brings to your home.
