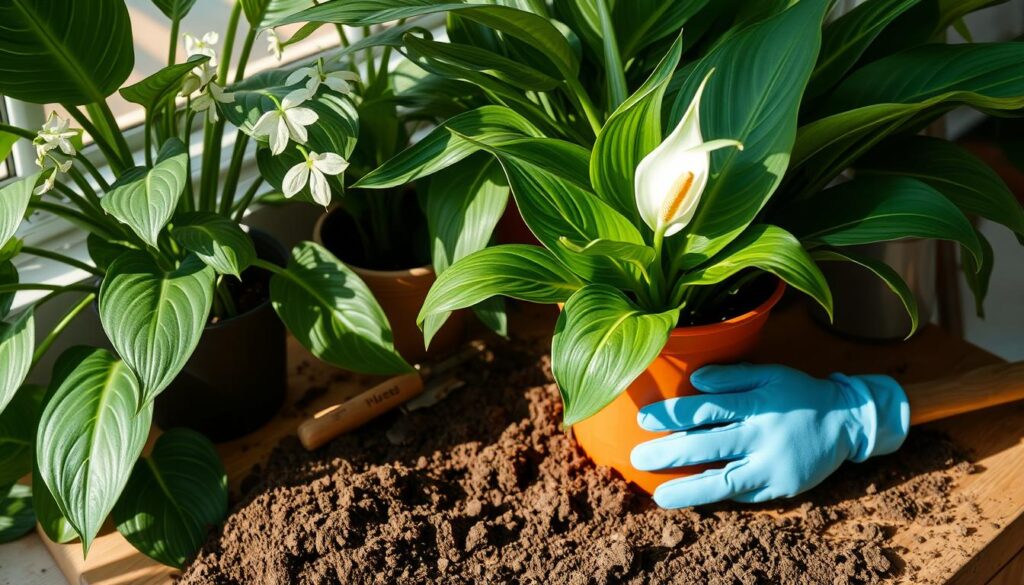
Is your peace lily looking a bit down, with wilted leaves and slow growth? It might be time for a transplant. Repotting is key for these houseplants to stay healthy and vibrant. But when and how should you do it? This guide will show you how to repot your peace lily the right way.
Key Takeaways
- Peace lilies only need to be repotted every two years due to their slow growth rate.
- Use a pot 2 inches larger in diameter than the current one for optimal root growth.
- Repot in well-draining potting mix with peat moss, perlite, and compost for healthy roots.
- Spring is the best time to repot peace lilies when they are no longer dormant.
- Dividing the plant during repotting can help rejuvenate and promote new growth.
Understanding Peace Lily Transplanting Basics
Peace lilies are popular indoor plants with lush leaves and elegant white flowers. They need regular care to stay healthy. One key part of this care is repotting. This guide will explain why, when, and how to transplant peace lilies, keeping them healthy for a long time.
Why Peace Lilies Need Repotting
Peace lilies grow a lot and their roots can get too tight in their pots. This can cause problems like slow growth, not getting enough nutrients, and even root rot. Repotting gives them fresh soil and room to grow.
Optimal Transplanting Frequency
Peace lilies should be repotted every 1-2 years. This lets their roots grow and get the nutrients they need. Watching how your plant grows and looks can help you know when it’s time to repot.
Benefits of Regular Repotting
- Improved nutrient uptake and overall plant vigor
- Better water absorption and decreased risk of root rot
- Opportunity to inspect and prune any damaged or unhealthy roots
- Potential for division and propagation of the plant
Knowing how to pot peace lily plants helps them stay healthy and beautiful in your home.
Signs Your Peace Lily Needs a New Home
If your peace lily isn’t doing well, it might be time to repot the plant. Peace lilies often need a new pot because of root issues or age. Spring is the best time, but you can repot anytime if the plant is struggling.
Here are some signs your peace lily needs a new home:
- Roots growing from the drainage holes or visible on the soil surface
- Roots circling the bottom of the pot, indicating overcrowding
- Quick drainage, suggesting the soil is drying out too quickly
- The plant has been in the same pot for several years
When roots are crowded, the plant may grow slowly or even suffocate. If the soil drains too fast, roots may grow upwards. This can happen if the pot is too small or if the soil is too dry.
Peace lilies should be repotted every 3-4 years. This ensures they have enough room to grow. When repotting, use a good soil mix, gently remove the plant, and put it in a slightly larger pot.
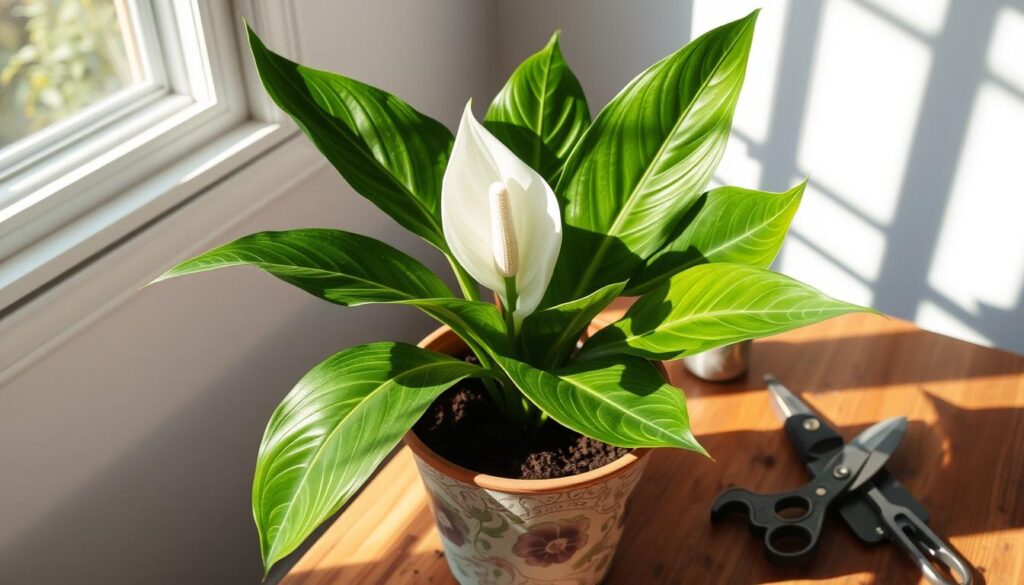
“After 3 to 4 years in the same pot, a peace lily will likely need repotting for fresh, healthy soil.”
By watching for these signs and repotting on time, your peace lily will keep thriving. It will also keep producing beautiful flowers.
Essential Tools and Materials for Transplanting
When transplanting your peace lily, it’s key to have the right tools and materials. From picking the perfect pot to making sure the soil mix is right, having what you need makes the transplant easier. It also boosts your chances of success.
Container Selection Guide
Look for a new pot that’s 1-2 inches bigger than the old one. Make sure it has holes for drainage. This extra room lets your peace lily’s roots grow and flourish in their new home.
Soil Mix Requirements
For top results, use a potting mix made for peace lilies. Mix equal parts peace lily soil, perlite, and compost or cactus mix. The right potting peace lily soil prevents root rot and promotes healthy growth.
Required Tools Checklist
- High-quality pruning shears or scissors for trimming roots and dead foliage
- Gardening gloves to protect your hands during the transplanting process
- A peace lily pot that is 1-2 inches larger in diameter than the current one
- A trowel or small gardening fork for gently loosening the root ball
- A watering can or spray bottle for post-transplant care
With these essential tools and materials, you’re ready to give your peace lily the best chance for a smooth and successful transplant.
Best Time to Transplant Peace Lily
The best time to repot a peace lily is in spring, after it finishes blooming. This lets the plant recover and get ready for new growth. But, if the peace lily is struggling, you should repot it right away. This is to stop it from getting worse or dying.
Peace lilies are tropical plants that can live for many years and bloom often with proper care. They don’t need a lot of light and can grow 1 to 4 feet tall. They have dark green leaves and white flowers that look like flags of peace.
When you transplant a peace lily, choose a pot that’s only ⅓ bigger than the root ball. These plants like moist soil but shouldn’t sit in water. After a month, feed them indoor plant food to help them grow.
Repotting peace lilies is needed when their roots outgrow the pot, causing them to wilt. This step helps keep the plant healthy and thriving.
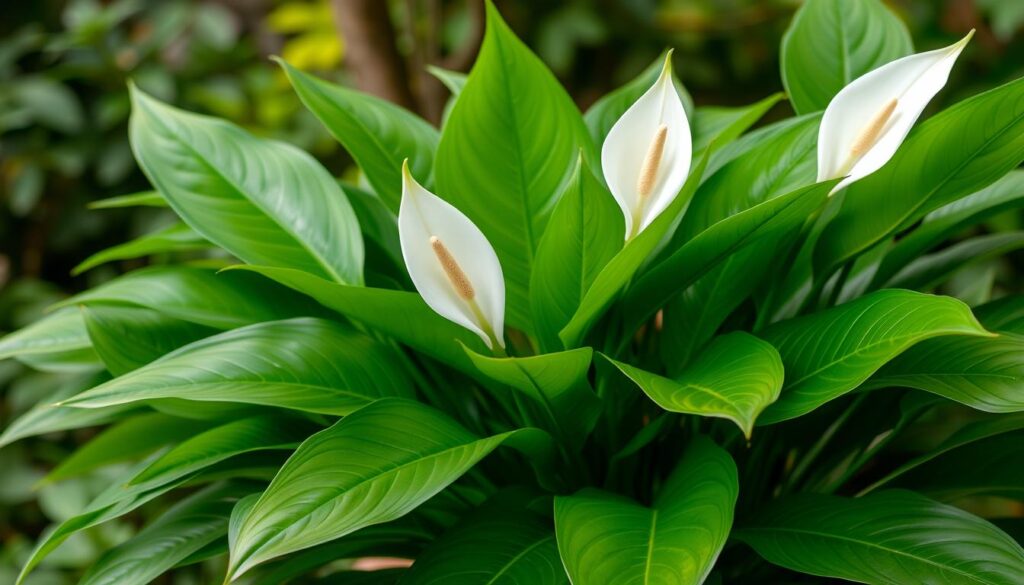
“Peace lilies are a low-maintenance, easy-to-care-for houseplant that can bring a touch of elegance and tranquility to any indoor space.”
Preparing Your Peace Lily for Transplant
Before you repot your peace lily, get it ready for its new home. This means taking a few important steps. These steps will help make the transplant smooth and successful.
Pre-transplant Watering Tips
Let the soil in your peace lily’s pot dry out for about a week before transplanting. This makes it easier to remove and reduces stress. Water it well a day or two before transplanting. This keeps the roots hydrated during the move.
Workspace Setup Guidelines
Make a clean and organized workspace for transplanting. Use a plastic sheet or tarp to catch any spills. Have all your tools and materials ready, like the new pot, potting mix, and pruning shears.
By preparing your peace lily this way, you’ll help it thrive in its new home. This reduces the chance of transplant shock and promotes healthy growth.
How to Transplant Peace Lily
Transplanting a peace lily is key to keeping it healthy and vibrant. It involves moving the plant to a new pot, making sure its roots have enough space. Here’s how to transplant your peace lily successfully:
- Gently remove the peace lily from its current pot, taking care not to damage the delicate root system.
- Inspect the root ball and identify any overcrowded or unhealthy roots. Use a sharp, clean pair of pruners to make 1-2 inch cuts through the outer roots if they appear congested.
- Carefully remove any mushy or brown roots, as these can harbor disease and compromise the plant’s overall health.
- Rinse the root system with room-temperature water to remove any excess soil and facilitate a smooth transition to the new container.
- Select a slightly larger pot, typically 2 inches (5.1 cm) wider in diameter than the previous one, and fill it with a well-draining potting mix suitable for peace lilies.
- Gently place the plant in the new pot, ensuring the roots are not cramped or folded, and fill in the gaps with the potting mix.
- Water the transplanted peace lily thoroughly and place it in a shaded area to allow it to adjust to its new environment.
By following these steps, you can successfully transplant your peace lily. This ensures it continues to grow and bloom beautifully. Keep an eye on the plant for a few weeks after transplanting. Adjust watering and lighting as needed to help it settle in.
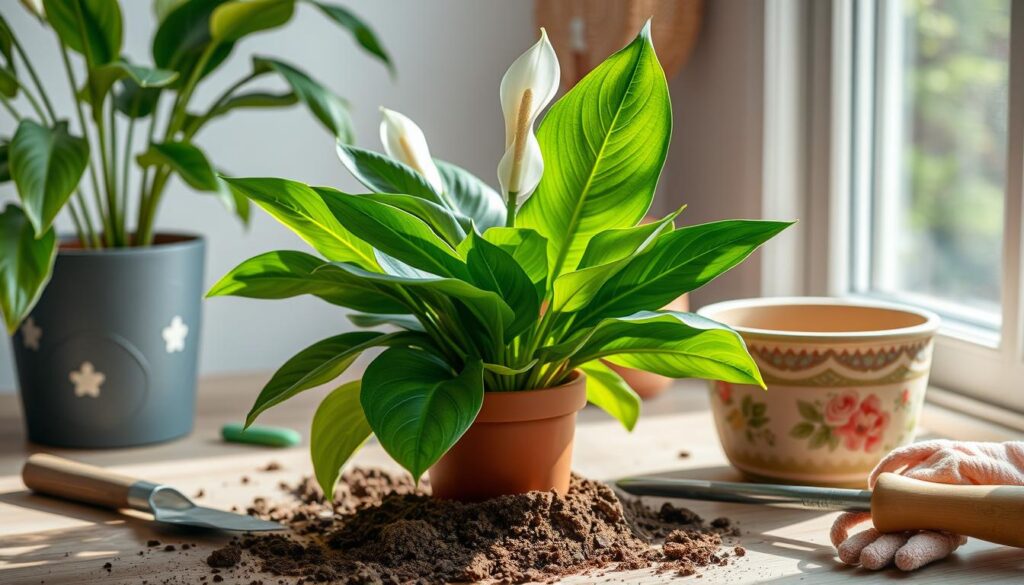
| Transplanting Considerations | Recommended Practices |
|---|---|
| Pot Size | Select a pot 2 inches (5.1 cm) wider in diameter than the previous one |
| Potting Mix | Use a well-draining potting mix suitable for peace lilies |
| Transplanting Frequency | Transplant every 1-2 years |
| Transplant Timing | Ideal time is in the spring |
Root Care During Transplanting
When you transplant your peace lily, taking care of the roots is key. First, you need to tell the healthy roots from the unhealthy ones. Healthy roots are white or light green and firm. Unhealthy roots are mushy, slimy, and dark.
Look closely at the roots and cut out any that are rotten or damaged. Use sharp, clean shears for this.
Identifying Healthy vs. Unhealthy Roots
Healthy roots are white or light green, firm, and flexible. Unhealthy roots are mushy, slimy, and dark, often black or brown. It’s important to spot and remove any bad roots to help your plant grow well.
Root Pruning Techniques
When you prune peace lily roots, use clean, sharp shears. Make clean cuts to avoid harming the plant. For big peace lilies, be extra careful when handling the roots.
Gently lift the plant out of its pot to check the roots. Cut out any unhealthy or overgrown parts.
| Healthy Root Characteristics | Unhealthy Root Characteristics |
|---|---|
| White or light green in color | Mushy, slimy, and dark brown or black |
| Firm and flexible | Discolored and rotted |
| Vital for nutrient and water absorption | Indicate potential issues like root rot |
By carefully checking and pruning the roots during transplanting, you can keep your peace lily healthy. Remember, taking good care of the roots is key to your peace lily’s well-being.
Choosing the Right Potting Mix
Choosing the right potting mix is key for your peace lily’s health. The best peace lily soil drains well, holds moisture, and is full of nutrients. This mix supports the plant’s growth and keeps it thriving.
A mix of peat moss, perlite, and cactus blend or orchid mix works well. It’s loose for root growth and drains water well. Yet, it keeps moisture in to prevent the plant from drying out.
- Peat moss or coco coir: Provides moisture retention
- Perlite or vermiculite: Improves drainage and aeration
- Cactus blend or orchid mix: Adds texture and structure
For a pre-made mix, choose one made for peace lilies or houseplants. Don’t use regular garden soil. It’s too dense for your peace lily’s roots.
“Choosing the right potting peace lily mix is essential for the long-term health and growth of your plant.”
The right mix gives your peace lily the nutrients, moisture, and air it needs. This ensures it thrives in its new home.
Proper Planting Depth and Positioning
When you move your peace lily to a new pot, getting the depth and position right is key. You want the roots to have enough room to spread and grow well in the new spot.
Depth Measurement Guidelines
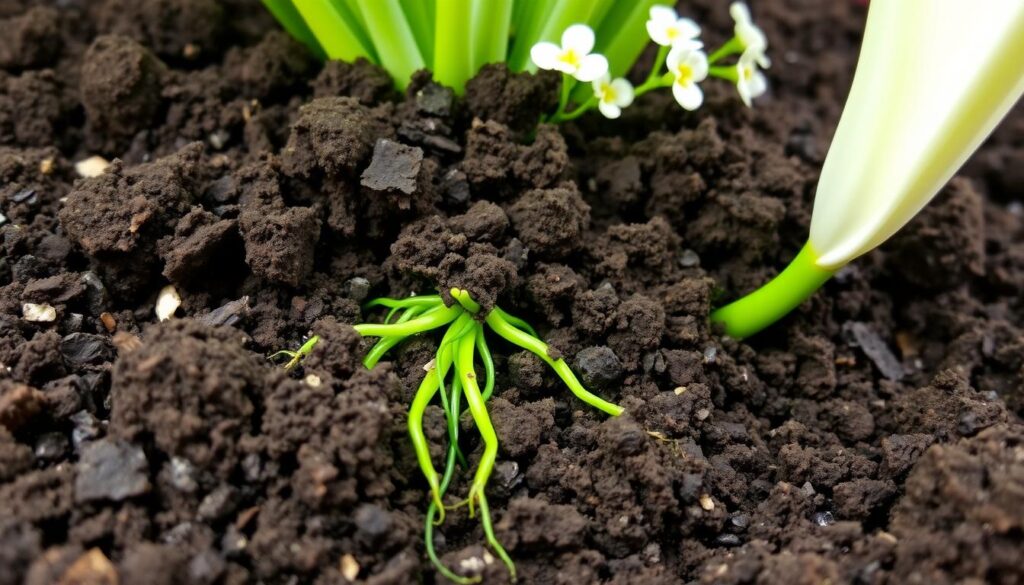
Plant the peace lily at the same depth as before. This helps the plant adjust smoothly without stress. Place the root ball in the new pot carefully, making sure the soil line is the same as before.
Root Spreading Techniques
- Spread the roots gently when placing the plant in the new pot. This lets the soil fill in the gaps, giving better support and nutrient access.
- Avoid squishing the roots or the soil too much. Let the soil settle naturally as you add it, ensuring the plant is firmly in place without restricting root growth.
- Gently tamp down the soil around the plant, being careful not to press too hard and compact the soil excessively.
By following these guidelines, you’ll give your peace lily a great start in its new home. This sets the stage for healthy growth and beautiful blooms.
Post-Transplant Care Requirements
Taking good care of your peace lily after transplanting is key for a smooth recovery and growth. Here are the main steps to follow:
- Water thoroughly after repotting, but avoid overwatering. Peace lilies like moist, but not wet, soil.
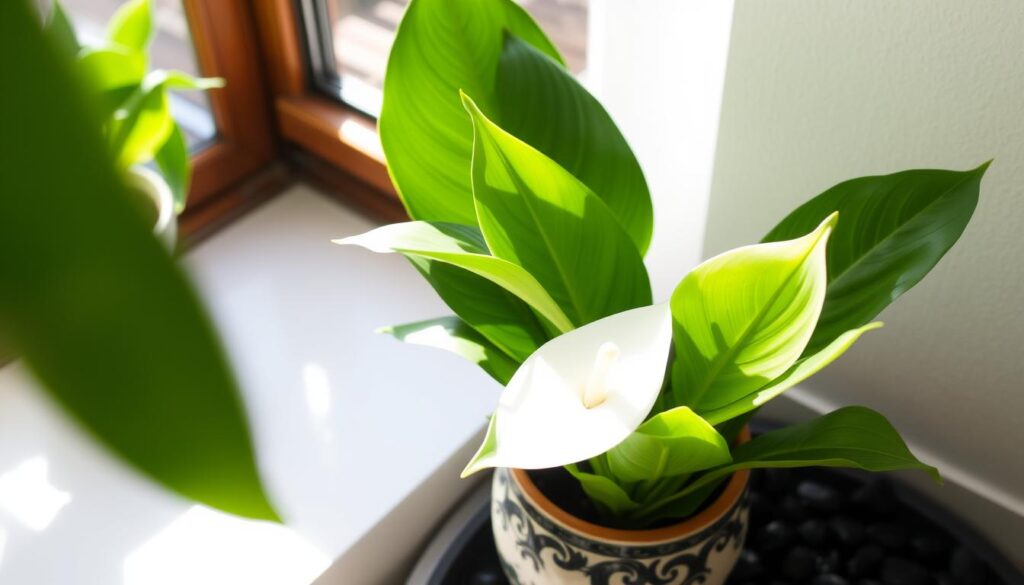
- Put the plant in a shaded area with indirect light for about a week to 10 days. This lets it adjust to its new spot.
- Keep temperatures between 70-85°F and humidity around 75%. This creates the best growing conditions.
- Don’t fertilize for at least six weeks after transplanting. This lets the plant recover and settle into its new pot.
Watch your peace lily closely during this time. It might get transplant shock, showing as wilting or drooping leaves. The right care can help it recover and flourish in its new home.
| Care Requirement | Recommended Approach |
|---|---|
| Watering | Water thoroughly after repotting, but avoid overwatering. Keep the soil consistently moist, but not waterlogged. |
| Light Exposure | Place the plant in a shaded area with indirect light for 1-2 weeks to help it adjust to the new environment. |
| Temperature and Humidity | Maintain temperatures between 70-85°F and humidity levels around 75% for optimal growth. |
| Fertilizing | Avoid fertilizing for at least six weeks after transplanting to allow the plant to recover and establish itself. |
By following these care guidelines, you can help your peace lily get over transplant shock and thrive. Proper care during this critical time ensures the plant’s long-term health and success.
Dealing with Transplant Shock
Transplanting a peace lily can cause shock. This stress might show as wilting, yellow leaves, or slow growth. But, with proper care, your peace lily can recover and flourish.
Common Shock Symptoms
Wilting leaves are a clear sign of transplant shock in peace lilies. The plant struggles to adjust to its new home and water. You might also see yellow or brown leaves, which can be from stress or root damage.
Recovery Strategies
To help your peace lily recover, follow these steps:
- Keep the soil moist but not too wet. Don’t let it dry out completely, but avoid waterlogging.
- Give it indirect, bright light. Direct sunlight can stress the plant and harm leaves.
- Don’t fertilize for a few weeks after transplanting. Let the plant focus on building a strong root system.
- If leaves droop, mist them often to increase humidity.
Be patient, as recovery can take weeks. With the right care, your peace lily will soon thrive in its new spot.
Transplant shock is common, but with the right steps, your peace lily can bounce back. Understanding symptoms and using effective recovery strategies will help your plant regain its strength and beauty.
For more tips on growing and caring for peace lilies, check out our guide at Bonsai Tree Care.
Watering Schedule After Transplanting
Proper watering is key for your peace lily’s success after transplanting. Follow these tips to help your peace lily flourish in its new home:
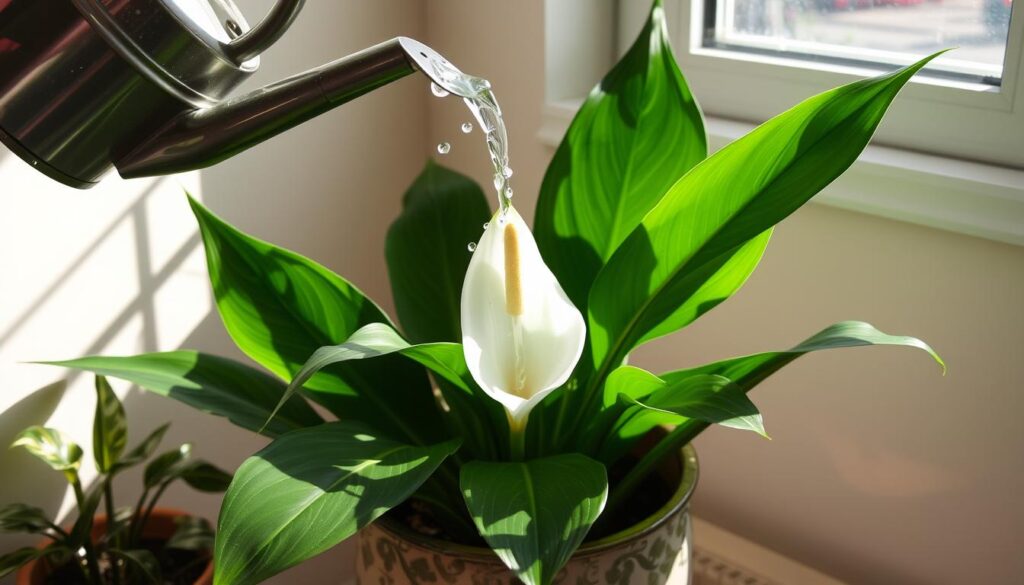
- Water right after repotting. This helps the plant adjust and prevents shock.
- Wait until the top 2 inches of soil dry out before watering again. Peace lilies can easily get root rot from too much water.
- In winter, water about once a week. Peace lilies need less water when they’re not growing.
- Use a moisture meter to check soil moisture. This ensures you’re watering just right.
Keep the soil moist but not too wet. Empty any extra water from the saucer to avoid root rot. By following these tips, your peace lily will recover and thrive in its new pot.
“Proper watering is the key to a healthy, thriving peace lily after transplanting.”
Special Considerations for Large Peace Lilies
Transplanting large peace lilies needs extra care. These plants can grow big, making repotting tricky. To do it right, follow these steps:
- Set up a big work area. Use a large plastic sheet or tarp for a clean space.
- Use tools to gently loosen the soil and roots. This makes the root ball easier to remove.
- Place the root ball on the plastic sheet for better handling.
- Be careful moving the plant to its new, slightly bigger pot. Large peace lilies are heavy and hard to move.
- Having a helper can make this step safer. Two people can avoid damaging the plant.
With these precautions, you can move even the biggest peace lily safely. Remember, patience and care are crucial for these plants.
“Transplanting a mature peace lily requires a delicate touch, but the results are well worth the effort.”
Conclusion
Regular repotting is key for peace lily care and growth. By following the steps in this article, you can transplant your peace lily successfully. This ensures it stays healthy and vibrant.
Keep an eye on your plant after repotting and adjust its care if needed. With the right care, your peace lily will grow well in its new home. It will reward you with lush leaves and stunning flowers.
To sum up, transplanting a peace lily right involves knowing the basics and recognizing when it needs a new home. You also need the right tools and materials, and to time the transplant well. Providing good care after transplanting is crucial.
By meeting your peace lily’s needs at each step, you set it up for success. This way, you can enjoy its beautiful flowers for many years.
Whether you’re experienced with plants or new to peace lily care, this guide helps you transplant with confidence. Embrace the process and watch your peace lily thrive in its new space. It will add beauty to your home or garden.
