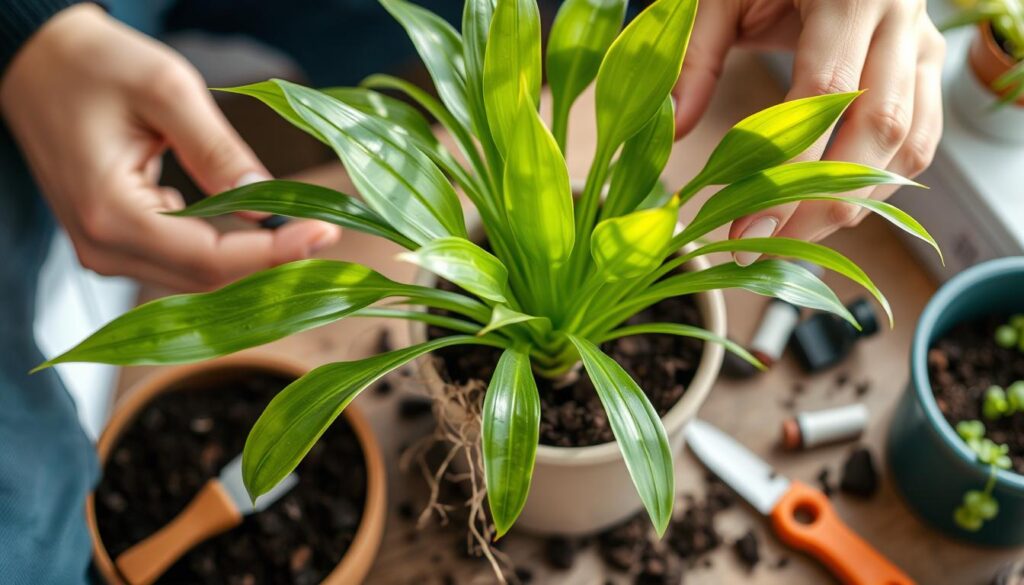
Spider plants have been a favorite since the 1960s and 70s. They are loved for their full look and simple care. Repotting is key to keeping them. It’s easy and can be done in a few steps, helping your plant grow more.
Key Takeaways
- Spider plants are a popular and low-maintenance houseplant option.
- Repotting is crucial for the health and growth of spider plants, especially when roots become visible or pot-bound.
- Stunted growth, root growth through drainage holes, and aged soil are signs that a spider plant needs to be repotted.
- Proper repotting techniques, such as choosing the right potting mix and pot size, are essential for a successful repotting process.
- Repotting should be done during the plant’s active growth period, typically in the spring or summer, for the best recovery.
Introduction to Spider Plant Repotting
Importance of Repotting Spider Plants
Spider plants are known for their hardiness and ability to grow well in many conditions. But, even these tough plants need to be repotted from time to time. This is because repotting gives them fresh soil and more room for their roots to grow.
Common Signs That a Spider Plant Needs Repotting
Gardeners can spot when a spider plant needs a new home. Look out for these signs:
- Roots growing through the drainage holes or showing on the soil surface
- Stunted spider plant growth or slow development
- Needing to water more often because it can’t soak up moisture well
These signs mean the plant has outgrown its pot. Repotting gives the roots the room they need to grow well.
| Spider Plant Care Tip | Ideal Condition |
|---|---|
| Watering Frequency | Once a week, more often in warmer months, less in cooler seasons |
| Light Requirements | Bright, indirect light |
| Soil Preference | Well-draining potting mix |
| Fertilization | Regular application during the growing season |
By spotting these signs and repotting the spider plant, gardeners can keep their plants happy and healthy. This way, they can enjoy their plants for many years.
“Repotting spider plants is crucial for their health and robust growth, as it allows their root systems to expand and access the necessary nutrients.”
Preparing for Spider Plant Repotting
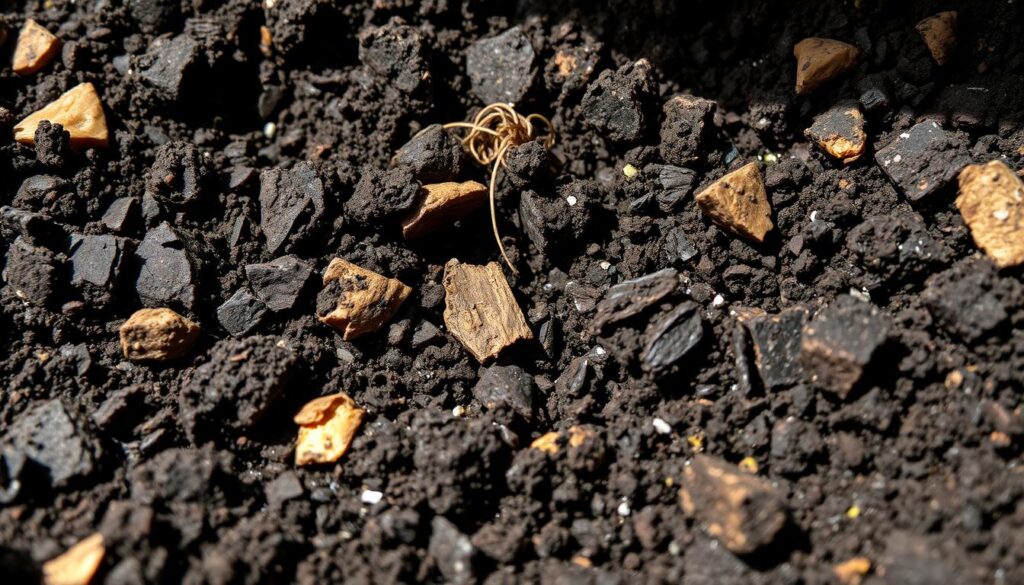
Before you start repotting, make sure you have the right soil and container. Spider plants do best in a well-draining potting mix. This mix helps with airflow and prevents root rot.
Choosing the Right Potting Mix for Spider Plants
Find a good houseplant-specific soil mix or make your own. Mix two parts potting mix with one part perlite and one part coconut coir. This mix gives your spider plant the nutrients, air, and drainage it needs.
Selecting the Appropriate Pot Size and Material
Choose a pot that’s only one to two sizes bigger than the current one. Don’t pick a pot that’s too big, as it can cause waterlogging and root rot. Plastic or ceramic pots are best because they drain well and are stable.
Choosing the right soil and container is key for your spider plant’s health and growth. Preparing the right environment will help your repotting go smoothly.
Step-by-Step Guide to Repotting Spider Plants
Repotting spider plants is key to keeping them healthy and growing well. It involves taking the plant out of its pot, loosening the roots, and putting it in a new pot with fresh soil. This guide will help you repot your spider plant the right way.
- Gather your supplies: a new pot that’s one size bigger, fresh potting mix, and clean, sharp scissors or pruners.
- Gently take the spider plant out of its pot. Loosen the roots carefully without harming them.
- Check the roots and cut any damaged or dead ones with scissors or pruners.
- Put a layer of fresh potting mix at the bottom of the new pot. Place the plant in the center, making sure the soil level is the same as before.
- Add more potting mix around the plant, pressing it down gently to get rid of air pockets.
- Water the repotted spider plant well, making sure the soil is moist but not too wet.
By following these steps, you can repot your spider plant successfully. This will give it the chance to keep growing in its new home. Remember to water it often and watch its growth to keep it healthy and happy.
“Repotting spider plants is a simple yet essential task to keep these resilient plants healthy and vibrant.”
The spider plant repotting process is easy and doesn’t take much effort. Giving your spider plant a fresh potting mix and a slightly bigger pot helps it grow. Repotting every 1-2 years is a good idea to keep your spider plant thriving indoors.
Aftercare for Repotted Spider Plants
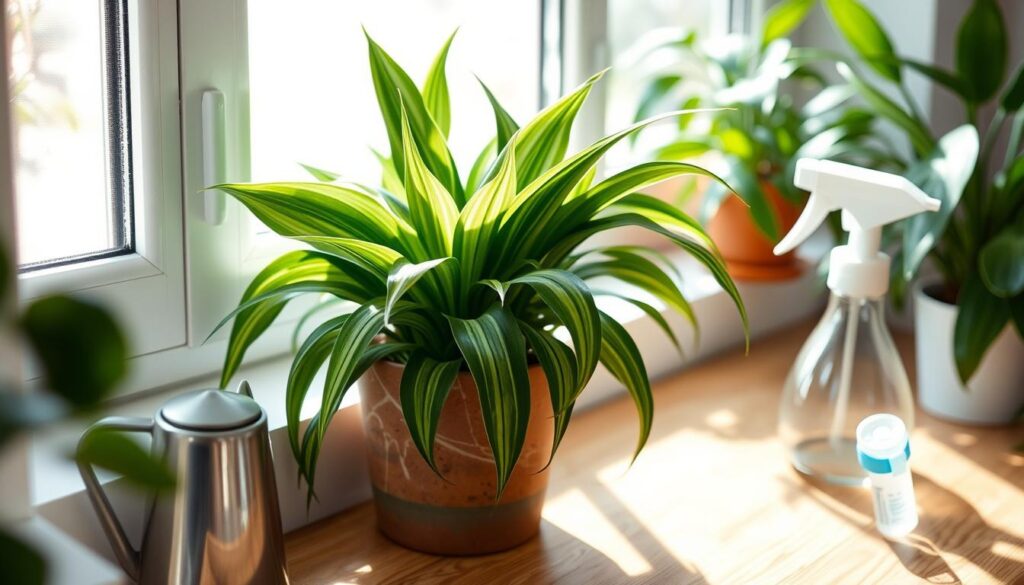
Taking good care of your spider plant after repotting is key to its health and growth. When it comes to spider plant watering, aim for soil that’s moist but not too wet. After repotting, give the plant a good soaking. This helps the roots spread out in the new soil.
Watering and Moisture Requirements
Spider plants like soil that’s a bit damp, with the top inch drying out before watering again. Too much water can cause root rot. So, finding the right balance is important for spider plant care after repotting.
Light and Temperature Preferences
Spider plants do best in bright, indirect light. Variegated types might turn solid green if it’s too dark. They prefer temperatures between 57-64°F (14-18°C), with 68°F (20°C) being the best for new growth. Keep them away from cold temperatures below 50°F (10°C) to prevent growth stoppage.
“Proper care and attention after repotting are essential for the long-term health and vitality of your spider plant.”
spider plant repotting
Spider plants grow fast and often outgrow their pots quickly. It’s important to repot them at the right time to keep them healthy and thriving. Look out for these signs that it’s time to repot:
- Roots becoming visible and protruding through the soil or pot drainage holes.
- The plant pushing itself up and out of the pot as the root system expands.
The best time to repot is in the spring and summer when the plant is growing. Don’t repot in winter, as the plant is resting and may not recover well.
Spider plants love bright, indirect sunlightfor the best growth. Watch for signs of too little light, like discolored leaves or slow growth. Fixing these issues quickly helps keep your spider plant healthy.
Knowing when to repot and giving the right care helps your spider plant flourish. It will keep producing cute baby plants for you to share.
“Repotting a spider plant is a straightforward task that can rejuvenate and revitalize the plant, leading to enhanced growth and a more vibrant appearance.”
Propagating Spider Plants During Repotting
Repotting your spider plants is a great chance to multiply them. The division method is a good way to grow more plants. It also keeps the main plant healthy.
Division Method for Spider Plant Propagation
Each part of the spider plant can grow into a new plant. This method prevents overcrowding. It also makes the plants grow stronger and healthier.
- Take the spider plant out of its pot. Then, separate the offsets or “spiderettes” from the main plant. Make sure each part has its own roots.
- Put the separated parts in their own pots. Use a mix that drains well, like coconut fiber and compost.
- Water the new plants well. Then, put them in a bright, warm spot but not in direct sunlight.
- Check the soil moisture often. Water when it feels dry but not too wet.
- In a few weeks, you’ll see new growth. The divisions will become their own plants.
By propagating during repotting, you refresh the parent plant. You also get new, healthy plants to enjoy or share.
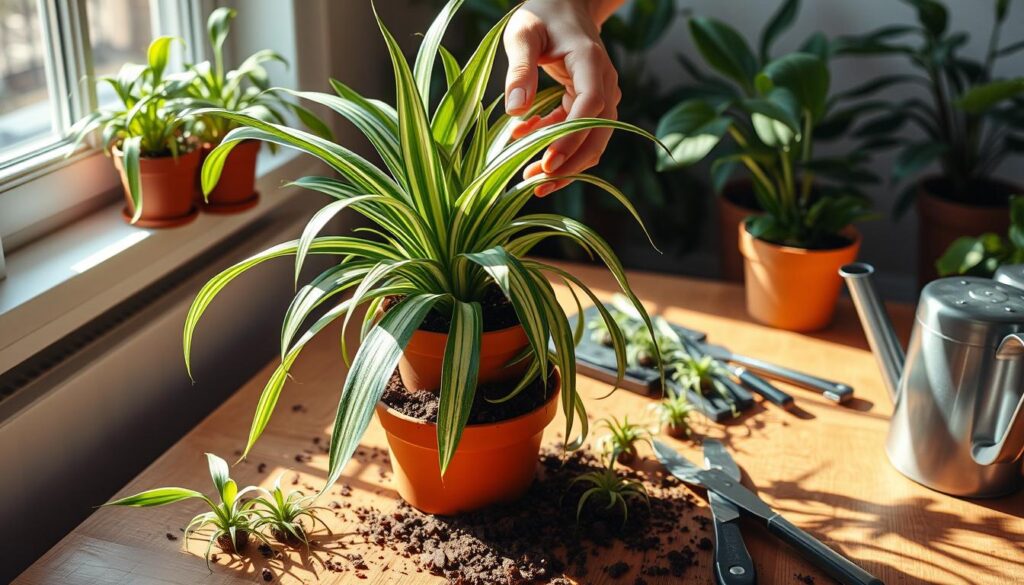
“Propagating spider plants is a great way to expand your collection and share the joy of these resilient, easy-care houseplants.”
Common Repotting Mistakes to Avoid
Repotting your spider plant is key for its health and growth. But, it’s easy to make mistakes that can harm your plant. Avoid these common errors to ensure a successful repotting and keep your spider plant thriving.
Overpointing is a common mistake, where you pick a pot that’s too big for the plant. This can cause overwatering and root rot because the soil stays too wet. On the other hand, underpointing, or using a pot that’s too small, can limit root growth and slow down the plant’s growth.
Another mistake is not loosening the roots before moving the plant to a new pot. If you don’t do this, the roots can become constricted. This limits the plant’s ability to take in water and nutrients. Be gentle but thorough when separating the roots to encourage healthy growth.
Using the wrong potting mix can also harm your plant. Spider plants do best in well-draining, nutrient-rich soil. A mix that’s too dense or holds too much moisture can cause root damage and other issues, such as root damage during repotting.
- Avoid overwatering by selecting the right pot size and potting mix.
- Gently loosen the root ball before repotting to prevent root restriction.
- Choose a high-quality, well-draining potting mix formulated for spider plants.
By avoiding these common spider plant repotting mistakes, you’ll help your spider plant thrive. You’ll enjoy its vibrant, trailing foliage for many years.
Addressing Root-Bound Issues in Spider Plants
If your spider plant’s roots are tightly packed and circling the container, it’s root-bound. This can stop the plant from getting water and nutrients, causing it to grow slowly or not at all. But, there are ways to fix this and help your spider plant grow well.
When the roots start circling the pot, it’s a sign the plant needs a bigger home. If you don’t move it, the plant might get stressed, wilt, and have trouble growing.
- Roots forming a tight, circular pattern around the pot
- Slow or stunted growth of the plant
- Visible roots protruding from the soil or drainage holes
- Frequent wilting or drying out, even with regular watering
To fix a root-bound spider plant, carefully loosen the roots and remove some old soil. Then, put it in a slightly bigger pot. This lets the roots spread and get the nutrients and water they need. Make sure to use a potting mix that’s good for spider plants, as they like well-draining, balanced soil.
“Addressing root-bound issues in spider plants is essential for their long-term health and growth. By providing them with the right soil and ample root space, you can help your spider plant reach its full potential.”
With the right care, your root-bound spider plant can recover and keep growing. It will add beautiful, cascading leaves and help clean the air in your home.
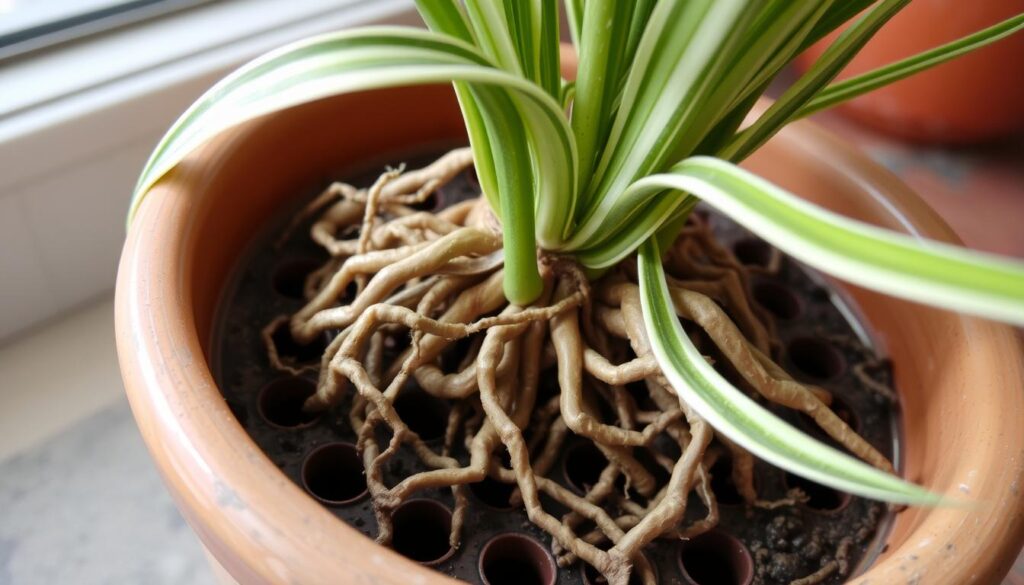
Best Time for Repotting Spider Plants
Timing is everything when it comes to repotting spider plants. The best time is in the spring and summer when they grow fast. This lets their roots spread and grow well in the new pot.
Don’t repot in winter. They rest then and might not bounce back well. Just take care of them until it’s time to repot again.
To know if it’s time, check for signs like roots coming out or the plant feeling too heavy. You should repot every 1-2 years or when the plant needs more room.
| Repotting Tip | Explanation |
|---|---|
| Timing | Spring and summer are the ideal times to repot spider plants, aligning with their active growth phase. |
| Pot Size | Choose a pot that is 1-2 inches larger than the current one to allow for growth. |
| Soil | Use a well-draining, nutrient-rich potting mix specifically formulated for spider plants. |
| Drainage | Ensure the pot has adequate drainage holes to prevent waterlogging and root rot. |
By following these tips, your spider plant will stay healthy and vibrant. It will be ready to thrive in its new home.
“Proper timing and technique are key to successful spider plant repotting, unlocking their full potential for growth and stunning foliage.”
Spider Plant Fact 1: Potbound Plants and Water Retention
When a spider plant becomes potbound, its roots can’t absorb water well. This makes the soil dry out fast, causing stress to the plant.
Spider plants can quickly become potbound. To fix this, repotting them in fresh soil helps. This improves their ability to hold water and stay healthy.
| Statistic | Value |
|---|---|
| Spider plants typically need repotting every 1-2 years | or when signs of being root-bound appear |
| Best time for repotting spider plants | during the spring and summer months |
| Signs indicating the need for repotting | yellow or brown leaves, suggesting root congestion |
Knowing how potbound spider plants affect water retention helps gardeners. Regular checks and timely repotting keep these plants thriving. They are easy to care for and add beauty to any space.
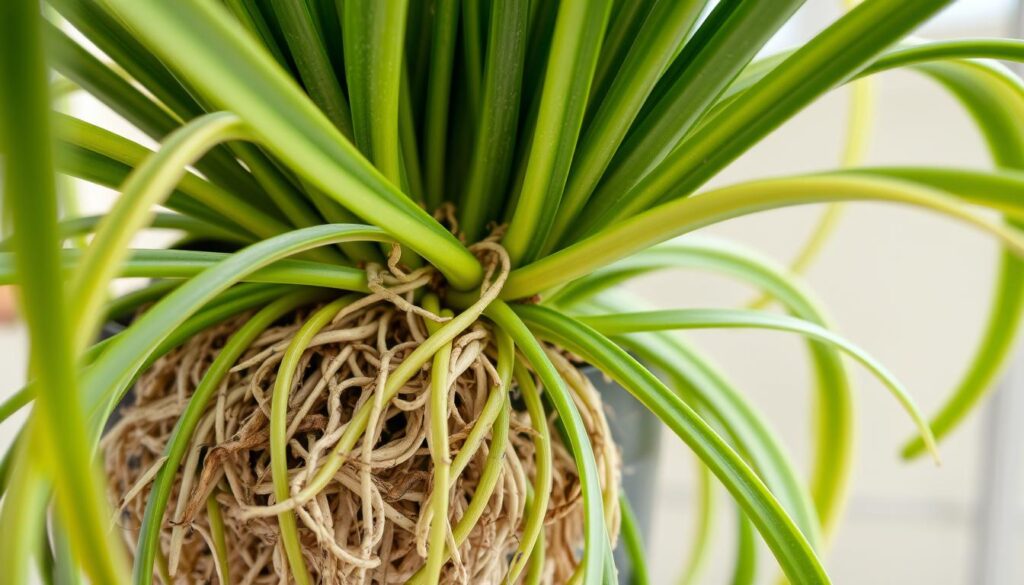
“When a spider plant becomes potbound, its compacted root system restricts the plant’s ability to effectively absorb water, leading to quicker soil drying and potential water stress.”
Spider Plant Fact 2: Shaving the Root Ball
If your spider plant’s roots are too tight, you can trim the outer layer safely. This method, called “shaving the root ball,” boosts new root growth. It also helps the plant absorb nutrients better.
Shaving the root ball is a simple yet effective way to revitalize your spider plant. It’s great when roots are so tight they block water and nutrients. By cutting off the outer layer, you encourage the plant to grow new, healthy roots.
To shave the root ball, gently take the plant out of its pot. Use a sharp knife or pruning shears to trim the outer 1-2 inches of roots. Remove any damaged or tangled roots too. After trimming, repot the plant in fresh soil and water it well.
Shaving the root ball is a key part of spider plant care. It prevents stunted growth, yellow leaves, and waterlogging caused by tight roots. This simple step during repotting helps your spider plant thrive and keep its beautiful foliage.
Explore more plant propagation tipsto keep your indoor garden vibrant and healthy.
Spider Plant Fact 3: Propagation and Pest Management
Spider plants are easy to grow and can be multiplied. You can divide the mother plant or root the plantlets, called “spiderettes.” This way, you can get new plants for free, which is great for indoor gardeners.
Spider plants are mostly easy to care for but can get pests like spider mites, mealybugs, and aphids. Check your plant often and treat any pests with insecticidal soap or neem oil. These natural solutions help control pests without harming your plant.
With some knowledge and care, your spider plant will thrive. It will give you beautiful leaves and more plants to share. By knowing how to propagate and manage pests, you can enjoy a healthy spider plant in your home.
- Spider plants can be propagated by dividing the mother plant or rooting the plantlets (spiderettes).
- Common pests that may affect spider plants include spider mites, mealybugs, and aphids.
- Regularly inspect the plant and treat any infestations with insecticidal soap or neem oil.
- Proper propagation and pest management can help ensure a healthy, thriving spider plant.
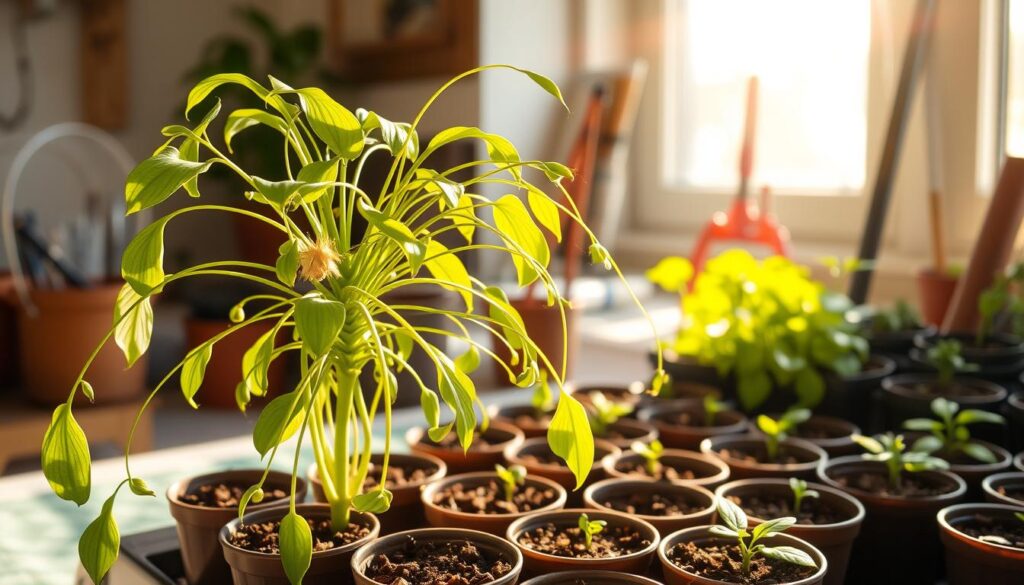
“Spider plants are one of the easiest houseplants to propagate, allowing you to create new plants for free and share them with friends and family.”
Conclusion
By following the steps and tips in this guide, you can help your spider plant grow well. You’ll learn when to repot, what potting mix to use, and the right pot size. This knowledge will help your spider plant stay healthy and strong.
Repotting in spring and summer is best. Avoid using too big pots and make sure there’s good drainage. Also, take care of your plant’s water, light, and temperature needs. This will help it settle well in its new home.
This guide also teaches you how to split your spider plant and deal with pests. This way, you can keep your plants healthy and enjoy their green leaves for a long time. With the tips from this article, you can take good care of your spider plant and watch it flourish in your space.
