Since the 1960s and 70s, spider plants have been a favorite in homes and offices. They’re loved for their full look and easy care. To keep them healthy, repotting is key. Spider plants do well when a bit cramped, but they need more room or fresh soil when they get too big.
The good news is repotting is simple and takes just 5 steps. This ensures your spider plant keeps growing strong.
Key Takeaways
- Spider plants have been popular houseplants since the 1960s and 70s
- Repotting a spider plant can be done in 5 easy steps
- Signs a spider plant needs repotting include roots growing through the drainage holes or soil line
- Repotting should be done during the plant’s active growth period in spring and summer
- Use a well-draining, light potting mix for best results
Why Repotting is Essential for Spider Plants
Spider plants are tough and can grow well in many places. But, they need repotting now and then to stay healthy. This means giving them fresh soil and more room for their roots.
Signs That Your Spider Plant Needs Repotting
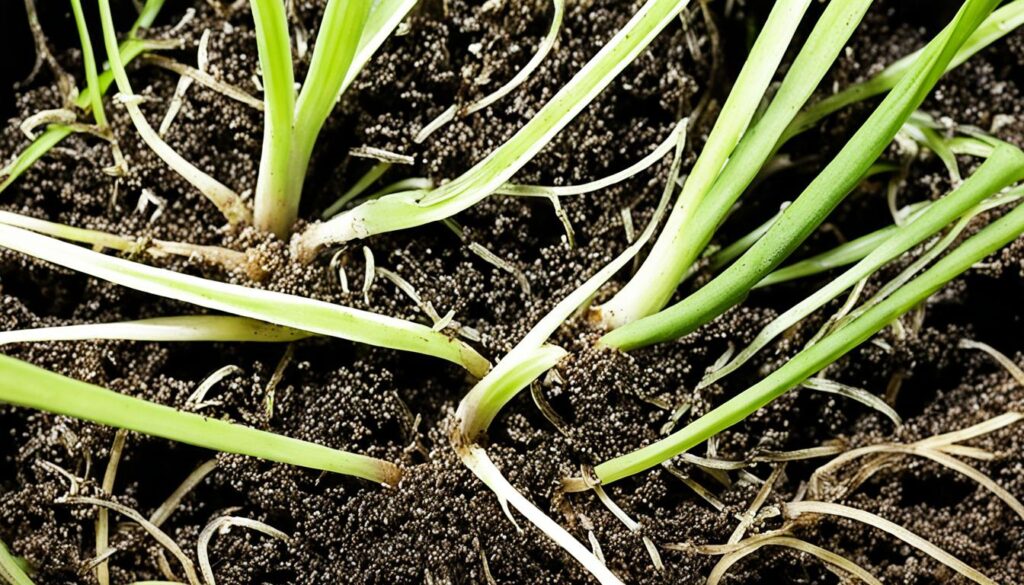
Knowing when to repot your spider plant is key. Look out for roots coming out of the drainage holes or showing above the soil. Also, if your plant grows slower or needs more water often, it’s time for a bigger pot. Signs spider plant needs repotting help you keep your plant happy and healthy.
Benefits of Repotting Spider Plants
Repotting your spider plant has many benefits. It gives the plant fresh soil full of nutrients. This helps it grow strong and healthy. Plus, the bigger pot lets the roots spread out, which can lead to more baby plants or offsets. This means you can share your plant with friends.
“Repotting is essential for spider plants to ensure they have the necessary nutrients and space to continue growing and thriving.”
Repotting is key to keeping your spider plant looking great for a long time. Pay attention to the signs it needs a new home and give it a bigger pot. This way, your plant will stay lively and productive for years.
Choosing the Right Potting Soil
Choosing the right potting soil is key for healthy spider plants. They do well in soil that drains well, is rich in nutrients, and allows air to flow. A mix with coconut fibers and high-quality compost is great because it holds moisture but lets air reach the roots.
To get the right texture, add a bit of clay powder or loamy garden soil. This mix of organic and mineral stuff makes a perfect home for spider plants.
The soil’s pH should be between 6.0 and 7.5 for the best growth. Using a potting mix made for spider plants, like Miracle-Gro® Indoor Potting Mix, gives your plant the right nutrients, drainage, and air.
“Spider plants are known for their air-purifying abilities, making them a popular choice among houseplant enthusiasts.”
Adding coconut coir to the soil helps with root health, keeping moisture in, and getting nutrients. Peat moss helps with keeping moisture right and keeps the pH balanced. This stops overwatering and helps the plant get what it needs.
Vermiculite and orchid bark make the soil better for air, water, and nutrients. Perlite also helps with drainage and plant health.
Choosing the right well-draining soil for spider plants helps your plant do well indoors.
Selecting the Ideal Container for Your Spider Plant
Choosing the right container for your spider plant is key. The size and material of the pot affect your plant’s health and growth.
Factors to Consider When Choosing a New Pot
The size of the pot is crucial. Spider plants do well with a bit of room for their roots. But, they don’t like containers that are too big. Aim for a pot that’s only 1-2 sizes bigger than the current one.
This size lets the plant grow without risking waterlogging or stunted growth.
The material of the pot matters too. Spider plants prefer porous, breathable materials like terracotta or ceramic. These materials let the soil dry out between waterings, preventing root rot. Stay away from non-porous options like plastic, which can trap moisture and cause problems.
- Look for a pot with adequate drainage holes to allow excess water to escape.
- Consider the weight and portability of the container, as spider plants can get quite large.
- Choose a pot that complements the style and decor of your living space.
By picking the right spider plant container and thinking about the factors to consider when choosing a pot for spider plant, your spider plant will thrive for years.
How to Repot a Spider Plant?
Step 1: Preparing for Repotting
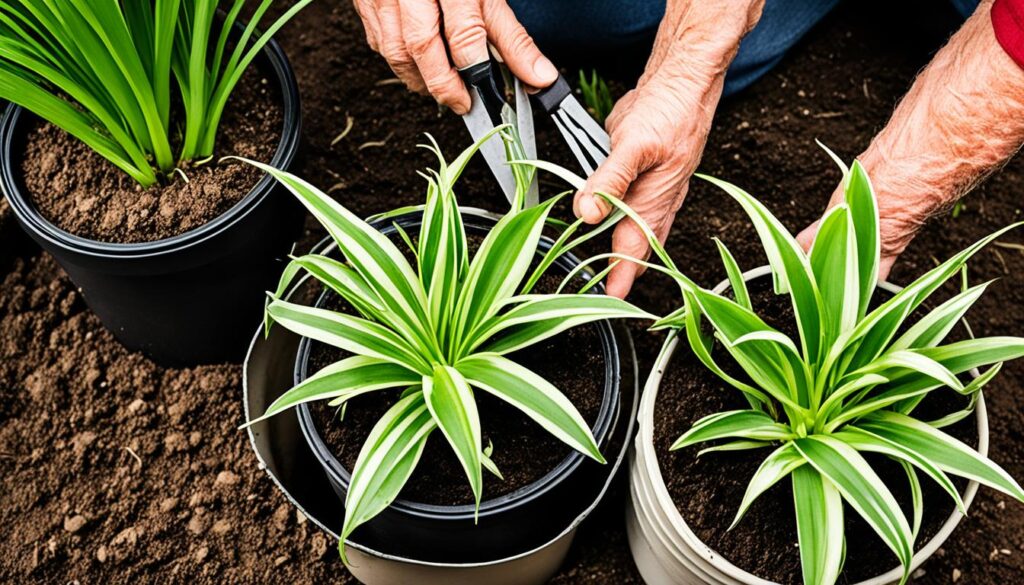
Start by gathering what you need for repotting. You’ll need a new pot, fresh soil, and tools like a trowel and scissors. Pick a pot that’s only a bit bigger than the current one to prevent too much water and support growth.
Gathering the Necessary Supplies
Make sure you have these items ready before you begin:
- A new pot or container with drainage holes
- Fresh, well-draining potting soil or potting mix
- Pruning shears or sharp scissors
- A trowel or small spade
- A watering can or container
Step 2: Removing the Plant from Its Current Pot
Tip the pot on its side and carefully pull the spider plant out by the base. If it’s stuck, use a knife to help loosen the roots from the pot.
Step 3: Loosening and Trimming the Roots
Once the plant is out, use your fingers to loosen the roots. Trim up to 25% of the roots if they’re tightly coiled. Remove any dead or damaged roots too.
Step 4: Repotting the Spider Plant
Positioning the Plant in the New Container
Put the spider plant in the new pot, placing it at the same depth as before. The top of the roots should be just below the pot’s rim.
Adding Fresh Potting Soil
Fill in the gaps around the plant with fresh soil, being careful not to pack it too hard. Leave an inch at the top for watering.
Step 5: Watering and Settling the Plant
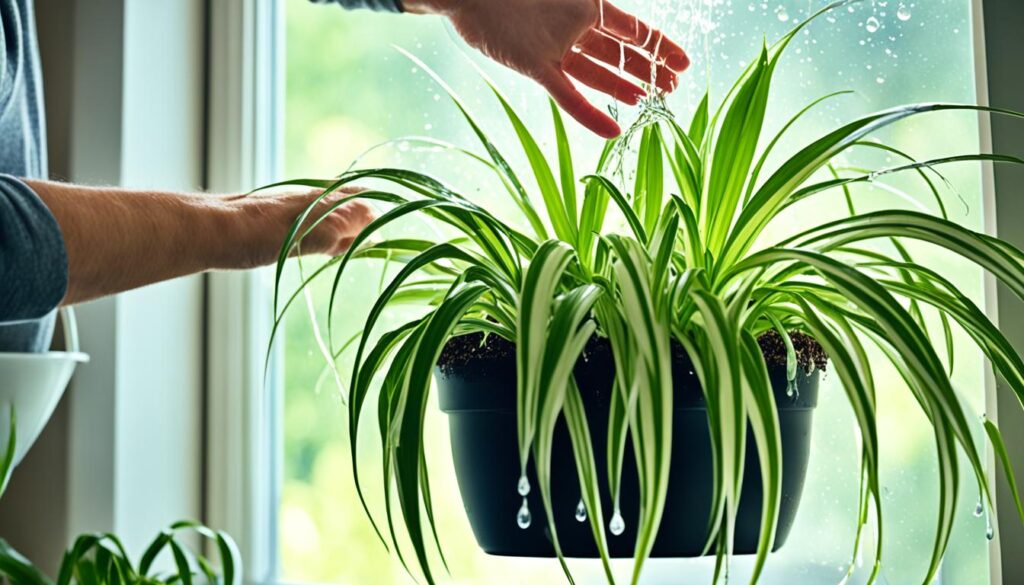
Water the plant well until water drains from the pot’s bottom. This helps settle the roots and soil. Don’t feed the plant right after repotting to avoid root stress.
Put the repotted spider plant in a bright, safe spot. Let it rest for about a month before normal care and feeding. With the right steps, your spider plant will flourish and keep producing “spider babies” for many years.
Propagating Spider Plants During Repotting
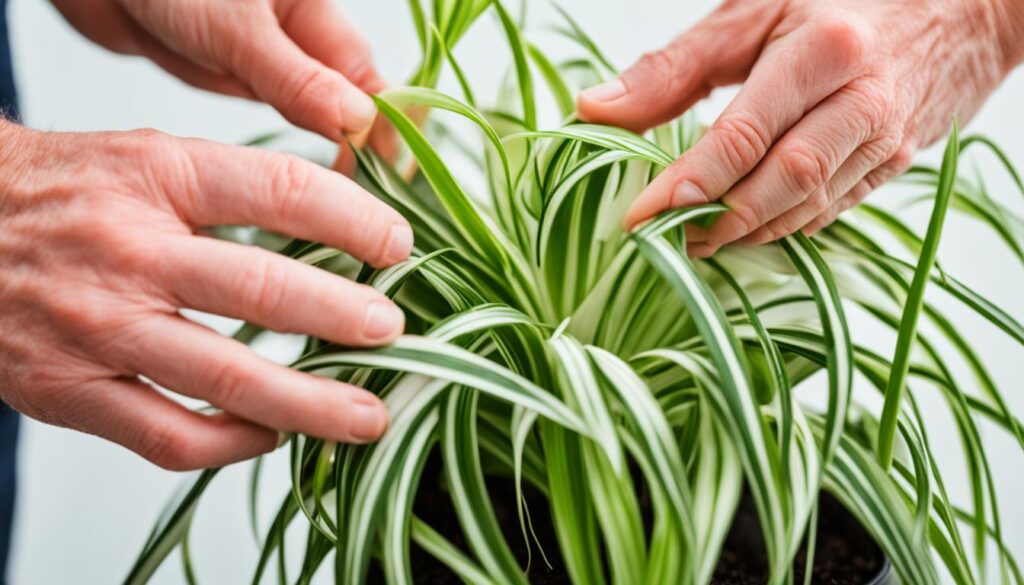
Looking to grow more spider plants? Repotting is a great chance to propagate or divide them. When you check the roots during repotting, you can spot sections to split and replant.
Each part you divide should have many leaves and enough roots to stand alone. Dividing your spider plant can make it healthier. It stops overcrowding and lets each plant grow better.
Here’s how to do it: while taking the plant out of its pot, gently split the sections. Make sure each has roots and leaves. Then, put each section in its own pot with good potting mix.
Water the new plants well, but don’t overwater. Keep the soil moist until you see new growth.
Propagating spider plants when you repot is a smart move. It helps you increase your plants without spending more money. Just make sure to do it in the spring or summer when the plant is doing well.
Aftercare and Maintenance Tips
After repotting your spider plant, keep up with the right care for its health and growth. Here are some important tips to keep your spider plant happy.
Watering and Fertilizing
Watering your spider plant right is key. Water when the top 2 inches of soil are dry, usually once a week. Don’t overwater, as it can cause root rot. Also, give it a balanced, high-quality fertilizer during the growing season for lush foliage and strong growth.
Pest Control and Disease Prevention
Spider plants can get pests like spider mites, aphids, and mealybugs. Check your plant often for pests and deal with them quickly. Also, watch for diseases like yellow or brown leaves to catch problems early.
By following these tips, your spider plant will keep thriving and add beauty to your space.
“Proper care and attention are the keys to a healthy, long-lasting spider plant.”
Best Time to Repot Spider Plants
The best time to repot spider plants is in early spring when they are actively growing. This lets the roots spread and settle in the new pot quickly.
Repotting in winter is not usually a good idea. The cold weather makes the soil stay damp for too long. This can cause root rot and other issues.
- Spider plants grow fast and need to be moved to a bigger pot every two to three years.
- Spring and summer are the best times to repot because the plant is growing. This makes it easier for it to adapt to its new home.
- When picking a new pot, choose one that is only a bit bigger than the old one. This helps with healthy root growth.
By repotting at the right time, gardeners can help their spider plants flourish. They will keep producing those beautiful spiderette plantlets. Keeping up with the right repotting schedule and using the right size pot is important for a healthy spider plant.
“When repotting a spider plant, it’s recommended to choose a pot that is one to two sizes bigger than the current container. This allows the roots to have room to spread and grow without becoming rootbound again too quickly.”
– Jamie Mitri, founder of Moss Pure
Conclusion
Repotting your spider plant is crucial for its health and growth. This guide shows you how to keep your spider plant happy and thriving. It helps your plant get the space and nutrients it needs to grow well.
Spider plants are easy to care for, making them great for beginners and experts. With proper care, your spider plant will grow well and produce many baby plants. These babies can be easily grown into new plants for your garden.
Regular repotting keeps your spider plant healthy and clean. It lets you enjoy its clean air, bright colors, and the joy of watching it grow. So, take the time to repot your spider plant. You’ll get a beautiful, long-lasting plant that brightens your home.
