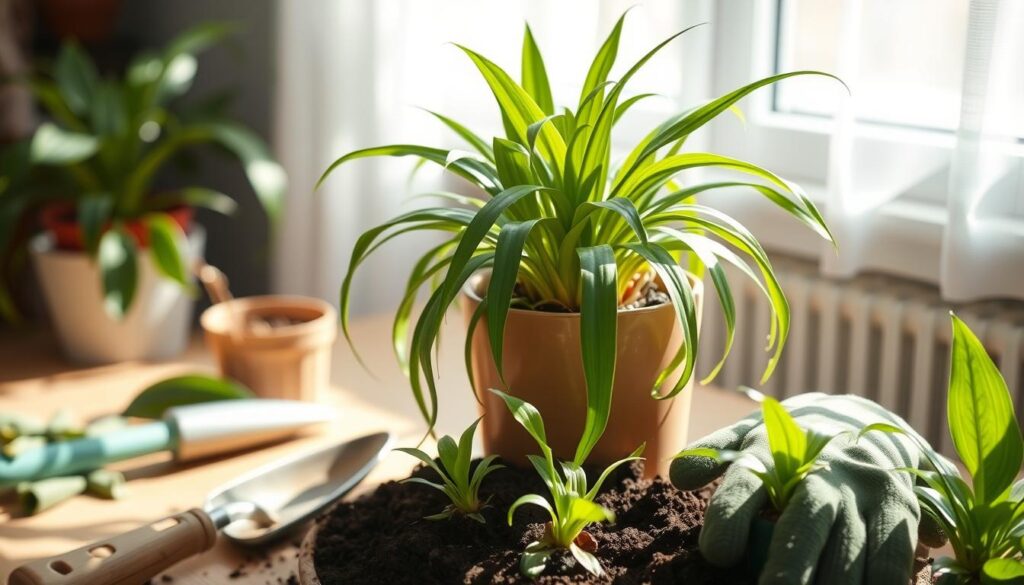
Wondering if it’s time to refresh your spider plant? Repotting is key for its health and growth. Spider plants grow fast, and their roots need more room. This prevents overcrowding and helps them get the nutrients they need.
By repotting your spider plant, you give it the space it needs. This ensures it stays vibrant and healthy.
Key Takeaways
- Repotting spider plants is vital for their health and robust growth, as their root systems outgrow containers.
- Signs that a spider plant needs repotting include root visibility outside the pot, slow growth, and circling roots.
- The best time to repot spider plants is during the spring and summer months.
- Repotting can be done by transplanting or dividing the plant into smaller sections.
- Choosing the right pot size, well-draining soil, and providing proper aftercare are essential for a thriving spider plant.
Why Repotting is Important for Spider Plants’ Health
Repotting is key to keeping your spider plants healthy and growing well. As they grow, their roots need more room. This is why they need to be moved into bigger pots regularly. It gives them the space and nutrients they need to thrive.
Understanding the Significance of Repotting for Thriving Plants
Spider plant roots can get too crowded in their pots. This stops them from getting the nutrients and water they need. It can cause the plant to grow slowly, have yellow leaves, and lose its energy. By repotting, the roots can spread out and get the resources they need for strong growth and healthy leaves.
Repotting also refreshes the soil. This makes sure your spider plant gets all the nutrients it needs. It helps the plant grow new leaves and “babies,” making it even more beautiful.
| Reasons to Repot Spider Plants | Benefits of Repotting |
|---|---|
|
|
Understanding the importance of repotting helps keep your spider plants healthy. This way, you can enjoy their beauty in your home for many years.
Signs Your Spider Plant Needs Repotting
Knowing when to repot your spider plant is key to successful care. As it grows, it needs a bigger home. Look for signs to know when it’s time to repot. This ensures your spider plant stays healthy and happy in its new space.
Root Visibility, Slow Growth, Frequent Watering Needs, and Circling Roots
Here are the main signs it’s time to repot your spider plant:
- Root Visibility: Seeing roots coming out of the pot or growing on the soil surface means it’s time for a bigger pot.
- Slow Growth: If your spider plant isn’t growing as fast as it used to, it might be too small for its pot.
- Frequent Watering Needs: Needing to water it more often could mean the roots are too crowded and can’t soak up water well.
- Circling Roots: Roots growing in circles inside the pot mean it’s time for a bigger pot to give them room to grow.
Watching for these signs helps keep your spider plant healthy and growing well. Regular repotting is crucial for its long-term health.

Best Time to Repot Spider Plants
Repotting your spider plant is best in the spring and summer. This is when the plant grows the most. Spider plants thrive during these months, making it the best time to transplant and fix any root problems.
In the fall and winter, spider plants are dormant. It’s best to not repot during this time. Repotting can stress the plant and slow its growth. Wait until the warmer seasons to repot.
Repotting at the right time helps your spider plant grow well. It keeps the plant looking lush and vibrant all year.
Ideal Repotting Timeframe
- Spring through summer: The best time to repot spider plants
- Fall and winter: Avoid repotting if possible, as the plant is in a dormant phase
- Wait until temperatures have warmed and days are longer before repotting
“Repotting your spider plant at the right time of year can make all the difference in its growth and overall health.”
Knowing when to repot your spider plant helps it stay healthy and happy. It makes your home a greener, more joyful place.
Repotting Methods: Transplanting vs Dividing
When caring for your spider plant, you have two main options. You can either repot the entire plant or divide it. Both methods help your plant stay healthy and vibrant.
Choosing the Right Approach: Repotting or Dividing Your Spider Plant
Repotting the entire plant into a bigger pot is one way. This lets your spider plant grow more in a roomier space. It’s great for plants that can get quite wide.
The division method splits the plant into smaller parts. Each part gets its own roots and leaves. This method refreshes the plant and lets you grow new ones. You should divide your spider plant every 1 to 5 years, depending on its size and how fast it grows.
| Repotting | Dividing |
|---|---|
| Allows the plant to continue growing in a larger container | Refreshes the original plant’s growth and enables propagation |
| Recommended for mature spider plants | Should be done every 1-5 years, depending on plant size |
| Provides more space for the expanding root system | New containers for divisions should be at least 3-4 inches wide |
Both repotting methods help your spider plant stay healthy and brighten your space. The best choice depends on your plant’s needs and growth stage.
Selecting an Appropriate Pot Size and Type
Choosing the right pot size and type is key for your spider plant’s growth and health. Pick a pot that’s only a bit bigger than the current one. A pot 1-2 inches wider is usually perfect, giving your plant room to grow without feeling cramped.
Think about the pot material too. Clay pots are great for spider plants. They let air and water in, helping roots stay healthy and preventing too much water. This keeps moisture levels just right for your plant.
| Ideal Pot Size for Spider Plants | Best Pot Types for Spider Plants |
|---|---|
|
|
Make sure the pot has holes at the bottom for water to drain. This stops water from drowning your plant’s roots. By picking the ideal pot size and best pot type, you’ll help your spider plant grow strong and healthy.
“Repotting your spider plant in the right-sized pot and with the proper soil mix is essential for its long-term health and growth.”
Importance of Well-Draining Soil and Its Role in Repotting
Choosing the right soil is key when repotting your spider plant. Well-draining soil is essential for these plants. It gives them a healthy place to grow.
Spider plants like a soil pH between 6.0 and 7.0. To make great soil, mix in coconut coir, peat moss, and more. You can also use “Spider Plant Imperial Houseplant Potting Soil Mix” or “Miracle-Gro Moisture Control Potting Mix.”
Good soil is vital for repotting. It stops water from causing root rot. It also lets the roots breathe, helping them grow strong.
| Soil Requirement | Importance |
|---|---|
| Well-draining soil | Prevents waterlogging and root rot, promotes aeration |
| Balanced soil pH (6.0-7.5) | Supports optimal nutrient uptake and plant health |
| Nutrient-rich mix | Provides essential nutrients for vigorous growth |
When repotting, the right well-draining soil is crucial. It helps your spider plant thrive. With the right soil, your plant will flourish in its new home.
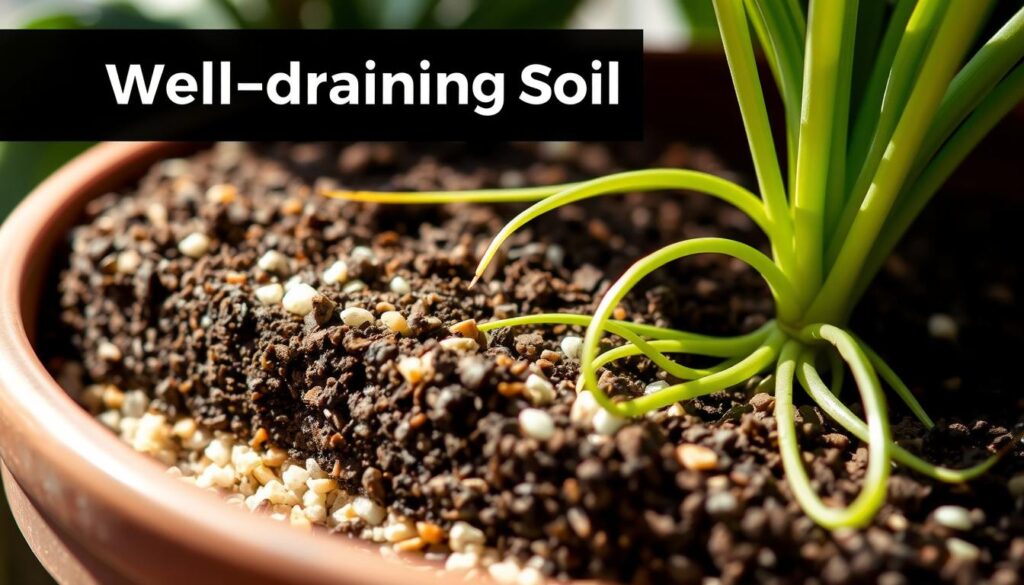
“Well-draining soil is the secret weapon for repotting spider plants. It’s like giving your plant a refreshing new start, with all the nutrients and aeration it needs to thrive.”
Step-by-Step Guide: Repotting a Spider Plant
Preparing Materials, Removing the Plant, Pruning Roots, and Potting
Repotting a spider plant is easy and involves a few steps. First, get the right stuff: a new pot, good potting soil, and sharp scissors. Repotting spider plants is needed every 1-2 years because they grow fast and can get too big for their pots.
Start by watering your spider plant well a few hours before you repot. This makes it easier to get the plant out of its old pot. Turn the plant upside down and gently remove it from the pot. Be careful not to hurt the roots.
Then, put some fresh potting mix in the new pot. Place the plant in the middle, making sure the roots are covered. Fill the sides with more soil, pressing it down a bit to keep the plant steady.
- Gather the necessary supplies: new pot, potting soil, pruning shears
- Water the spider plant thoroughly before repotting
- Gently remove the plant from the current pot, inspect the roots
- Prune any damaged or overcrowded roots
- Add a layer of fresh soil to the new pot
- Place the plant in the center and fill in the gaps with more soil
- Water the newly repotted spider plant thoroughly
After you’ve potted the plant, water it well. This helps it settle into its new home. With the right care, your spider plant will grow and produce baby plants for many years.
“Repotting is essential for the long-term health and growth of spider plants, allowing them to access the nutrients and space they need to flourish.”
Aftercare and Maintenance for Repotted Spider Plants
After repotting your spider plant, it’s key to give it the right care. This means adjusting how often you water it, making sure it gets enough light, and thinking about fertilizing. All these steps help it grow well in its new home.
Watering, Light, and Fertilizing Tips for Newly Repotted Plants
Watch how much water your plant needs closely. Let the top inch of soil dry out before watering again. Too much water can cause root rot, while too little can make the leaves wilt. It’s also important to give it the right amount of light. This can be indirect or bright, but not direct sunlight.
Feeding your plant with a balanced fertilizer can help it grow strong. Use a diluted liquid fertilizer once a month in spring and summer. Don’t fertilize in winter when it’s not growing as much.
- Monitor soil moisture closely, especially in the first week after repotting
- Provide bright, indirect light exposure to support the plant’s recovery
- Apply a balanced, diluted liquid fertilizer monthly during the growing season
By following these tips, your repotted spider plant will settle in well and keep growing strong in its new home.
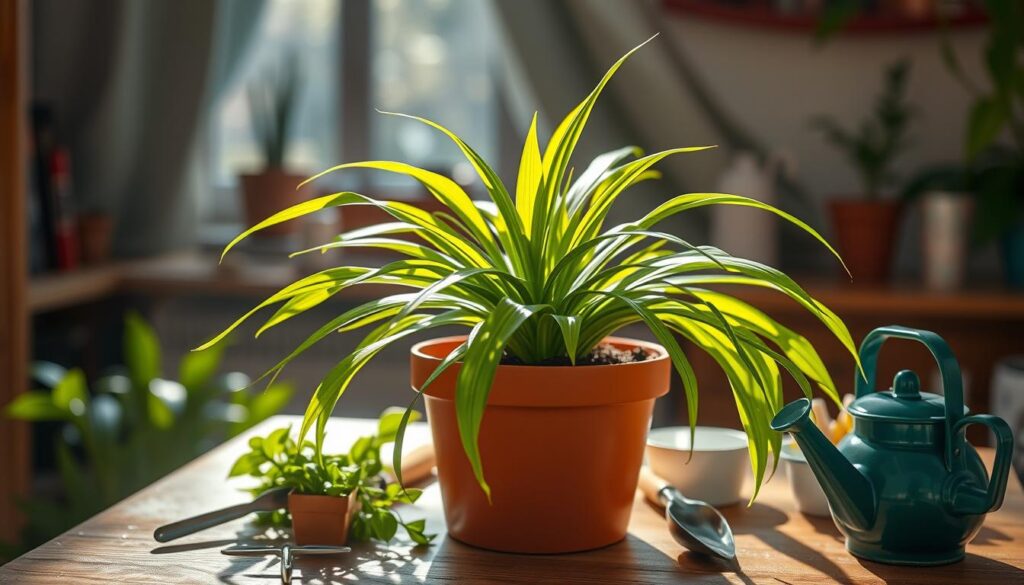
“Repotting a spider plant can be a daunting task, but with the right aftercare, it can be a rewarding experience for both you and your plant.”
Soil Selection and Preparation for repotting a spider plant
Choosing the right soil is key for your spider plant’s repotting success. The best soil for spider plants should drain well, be rich in nutrients, and match their natural habitat. A mix with coco coir or sphagnum peat moss for moisture, perlite or sand for air, and compost for nutrients is ideal.
Creating the Perfect Well-Draining Potting Mix for Spider Plants
Soil preparation is crucial for a smooth transition. Before repotting, mix the ingredients well and moisten them slightly. This ensures the right balance of moisture, air, and nutrients for your plant’s growth.
- Coco coir or sphagnum peat moss for moisture retention
- Perlite or horticultural sand for aeration
- Compost or worm castings for a nutrient boost
Creating a well-draining, nutrient-rich mix sets your spider plant up for success. This careful preparation helps your plant thrive and withstand transplant stress.
“The key to a healthy, thriving spider plant is in the soil. Take the time to get the mix just right, and you’ll be rewarded with a plant that’s primed for success.”
Pot Selection and Preparation
Choosing the Ideal Container and Ensuring Proper Drainage
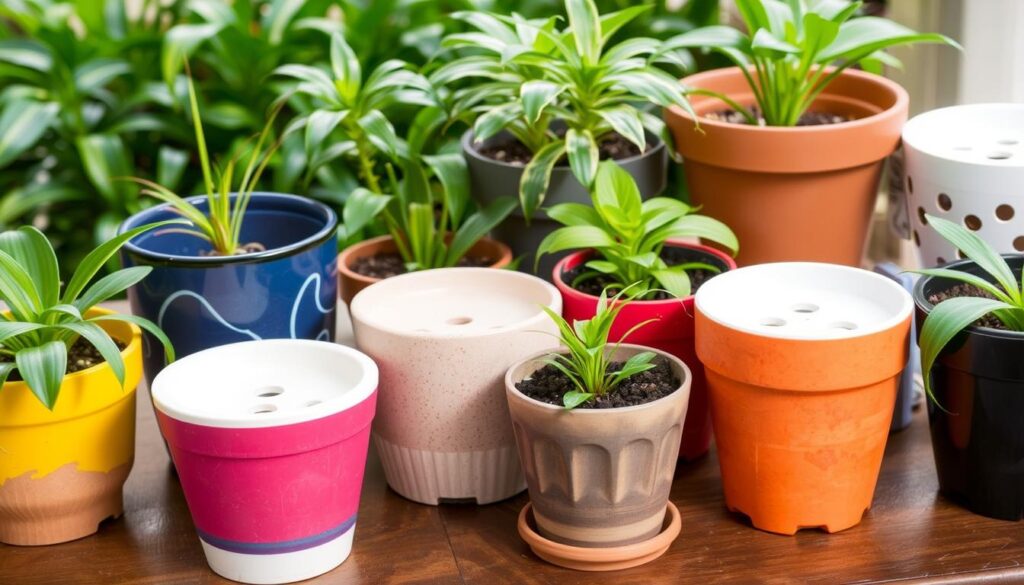
Choosing the right pot is key for your spider plant’s health and growth. The pot should be 1 to 2 inches wider than the current one. This gives the roots room to grow. Terracotta, ceramic, or plastic pots work well, with terracotta being great for air and moisture control.
Before moving your spider plant, clean the pot well. This removes harmful germs. Also, make sure the drainage holes are clear. This helps water flow and prevents root rot, which is bad for your plant.
| Pot Material | Benefits | Drawbacks |
|---|---|---|
| Terracotta |
|
|
| Ceramic |
|
|
| Plastic |
|
|
By picking the right pot and ensuring good drainage, your spider plant will thrive. The right container and a clean, draining environment will keep your plant healthy and vibrant for years.
Repotting Techniques
Proper repotting techniques are key for your spider plant’s health and success. Whether transplanting or dividing, following best practices helps your plant thrive. It ensures a smooth transition and encourages vigorous growth.
Transplanting Spider Plants
Start by gently removing your spider plant from its pot. Use a gentle squeeze or tap to loosen the soil. Once out, check the roots and prune any dead or damaged parts. This helps the roots grow better in the new pot.
Choose a pot that’s only slightly larger than the old one, about two finger widths wider. Spread the roots out in the new pot. Fill it with fresh, well-draining potting mix, leaving space at the top for watering.
Dividing Spider Plants
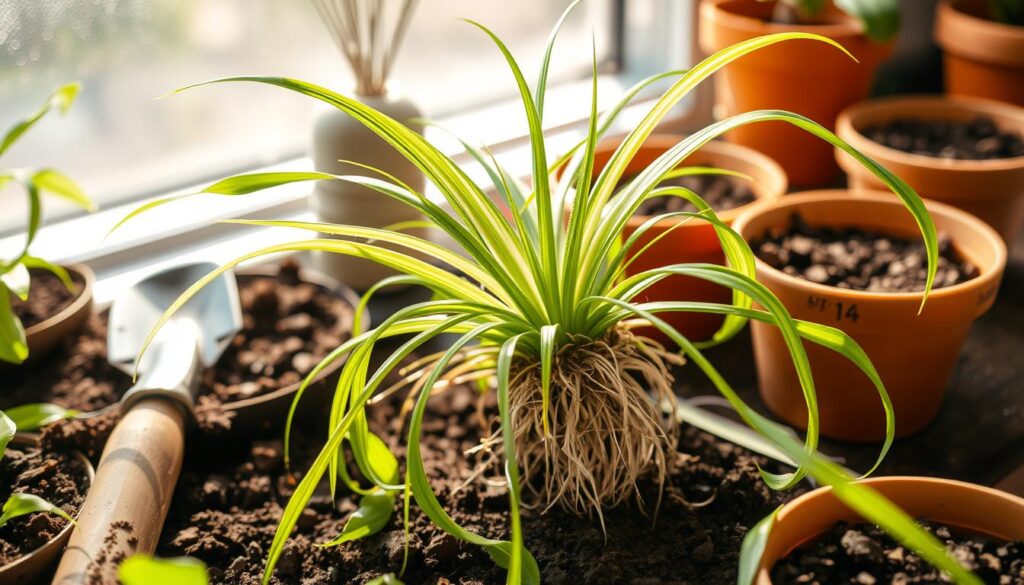
Dividing your spider plant is a good solution if it’s overcrowded or rootbound. Carefully separate the plant into smaller sections. Make sure each section has its own roots and leaves. This way, you can create new spider plants from the divisions.
When dividing, use a sharp, clean knife or scissors to cut through the root ball. Be careful not to damage the roots. Pot each division in a container with well-draining soil. Water them well to help them establish.
By following these best practices for how to transplant spider plants and how to divide spider plants, you can ensure a successful repotting. This promotes healthy growth and vibrant foliage for your spider plant.
Conclusion
Repotting your spider plant is key to keeping it healthy and growing well. Knowing when your plant needs a new pot and choosing the right soil are important. Following the right steps helps your spider plant thrive.
When you repot, you can move the whole plant or split it into parts. The goal is to make the transition easy for your plant. With good care, your spider plant will grow strong and healthy. It will also help you grow new plants, making your space brighter.
This article has a detailed guide on how to repot your spider plant. By following it, you can keep your plant happy and growing. Your spider plant will become a beautiful, easy-to-care-for part of your home or office.
